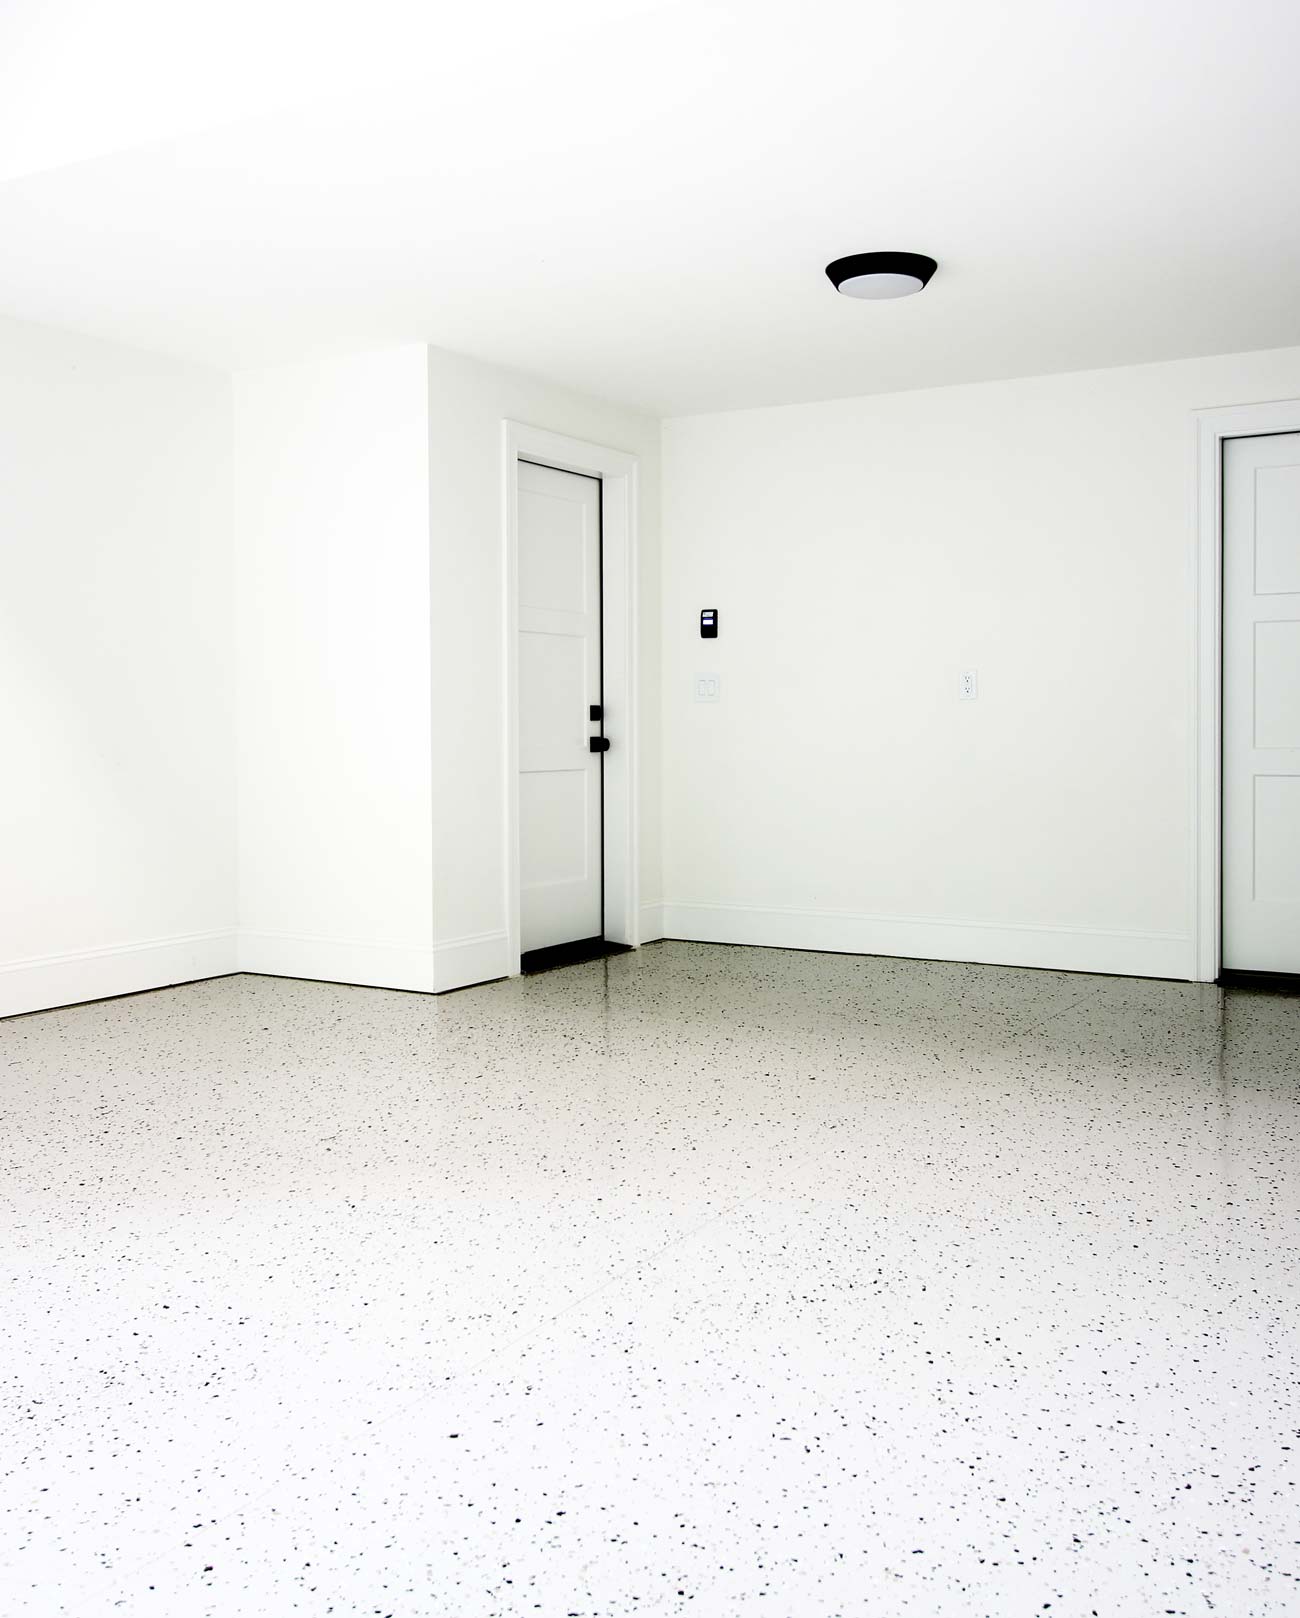
Tired of looking at your cracked, stained, and dusty garage floor? Is it time to transform your garage from a neglected space into a functional and stylish area? You might be thinking, “Can I really epoxy my own garage floor?” The answer is a resounding yes! Epoxy flooring is a popular choice for homeowners due to its durability, ease of maintenance, and sleek appearance. And with the right guidance, tackling this project yourself can be a rewarding DIY endeavor.

Image: dragon-upd.com
This comprehensive guide will walk you through the process of epoxying your garage floor, from preparation to finishing touches. Whether you’re a seasoned DIYer or a curious beginner, you’ll find everything you need to know to confidently embark on this transformative project.
Why Epoxy Your Garage Floor?
Before diving into the details, let’s explore the numerous advantages of choosing epoxy for your garage floor:
- Durability: Epoxy flooring is incredibly tough and can withstand heavy foot traffic, impacts, and spills. It’s resistant to abrasion, chemicals, and even oil stains.
- Ease of Maintenance: Sweep, mop, and forget! Epoxy floors are easily cleaned with minimal effort, making them perfect for busy garages.
- Aesthetics: Epoxy comes in a vast array of colors and finishes, allowing you to personalize your garage floor to match your style and preferences. You can even add decorative flakes for a unique and attractive look.
- Cost-Effectiveness: Compared to replacing the entire concrete slab, epoxy flooring is a relatively affordable way to upgrade your garage.
Preparing Your Garage Floor
The key to a successful epoxy floor lies in proper preparation. Neglecting this step can lead to adhesion issues and a less-than-ideal finish. Follow these steps for a solid foundation:
1. Clear the Garage
Move all items out of your garage to ensure you have ample space to work. This includes tools, equipment, vehicles, and any other belongings.

Image: www.vintage-mustang.com
2. Remove Existing Coatings
If your garage floor has old paint, sealer, or any other coatings, they must be removed. Use a scraper, wire brush, or chemical stripper (following safety precautions) to ensure a clean surface for the epoxy.
3. Clean the Floor
Thoroughly clean the concrete floor using a degreaser to remove oil, grease, or other contaminants. Rinse the floor with water and allow it to dry completely before proceeding.
4. Fill Cracks and Holes
Inspect the concrete for cracks and holes. Use a patching compound designed for concrete to fill any imperfections. Allow the compound to cure fully before moving to the next step.
5. Prime the Floor
Apply a concrete primer to promote adhesion between the epoxy and the concrete. Follow the manufacturer’s instructions for drying time before proceeding to the next step.
Applying the Epoxy
Finally, it’s time to apply the epoxy. Make sure you have all the necessary tools and materials on hand before starting, including:
- Epoxy resin and hardener
- Mixing bucket and stir stick
- Roller and nap roller covers
- Paint scraper or squeegee
- Gloves and safety glasses
- Protective clothing
1. Mix the Epoxy
Carefully read and follow the manufacturer’s instructions for mixing ratios and curing times. Typically, you’ll need to combine the epoxy resin and hardener in a designated mixing bucket. Mix thoroughly to ensure a consistent blend.
2. Apply the Epoxy
Use a roller to apply the epoxy in thin, even coats. Work in sections to avoid the epoxy from setting before you’ve finished. Use a squeegee or paint scraper to remove any excess epoxy.
3. Spread Decorative Flakes (Optional)
For a unique and attractive look, you can broadcast decorative flakes into the epoxy while it’s still wet. Use a trowel to evenly distribute the flakes and ensure complete coverage.
4. Cure the Epoxy
Allow the epoxy to cure according to the manufacturer’s recommendations. This typically takes 24 to 48 hours.
Finishing Touches
Once the epoxy has fully cured, you can add finishing touches to enhance its appearance and functionality.
1. Seal the Floor
Apply a sealant to protect your epoxy floor from stains, scratches, and wear and tear. Choose a sealant that is compatible with your epoxy type and follow the manufacturer’s instructions for application.
2. Add a Top Coat
For added gloss and durability, you can apply a top coat of epoxy sealer. This will create a smoother and more reflective surface while providing further protection.
Safety Considerations
Before you begin your epoxy project, it’s essential to prioritize safety. Here are some important tips to keep in mind:
- Work in a well-ventilated area to avoid breathing in fumes from the epoxy.
- Wear gloves, safety glasses, and protective clothing to prevent skin and eye contact with the epoxy.
- Always follow the manufacturer’s instructions and safety warnings on epoxy products.
- Keep children and pets away from the work area during application and curing.
Can I Epoxy My Own Garage Floor
Conclusion
Transforming your garage floor with epoxy is a rewarding project that can significantly improve the functionality and aesthetics of your space. By following these steps and focusing on careful preparation and safe application, you can achieve a durable and attractive epoxy floor that you’ll enjoy for years to come. So, grab your tools, unleash your inner DIYer, and give your garage floor the makeover it deserves!


