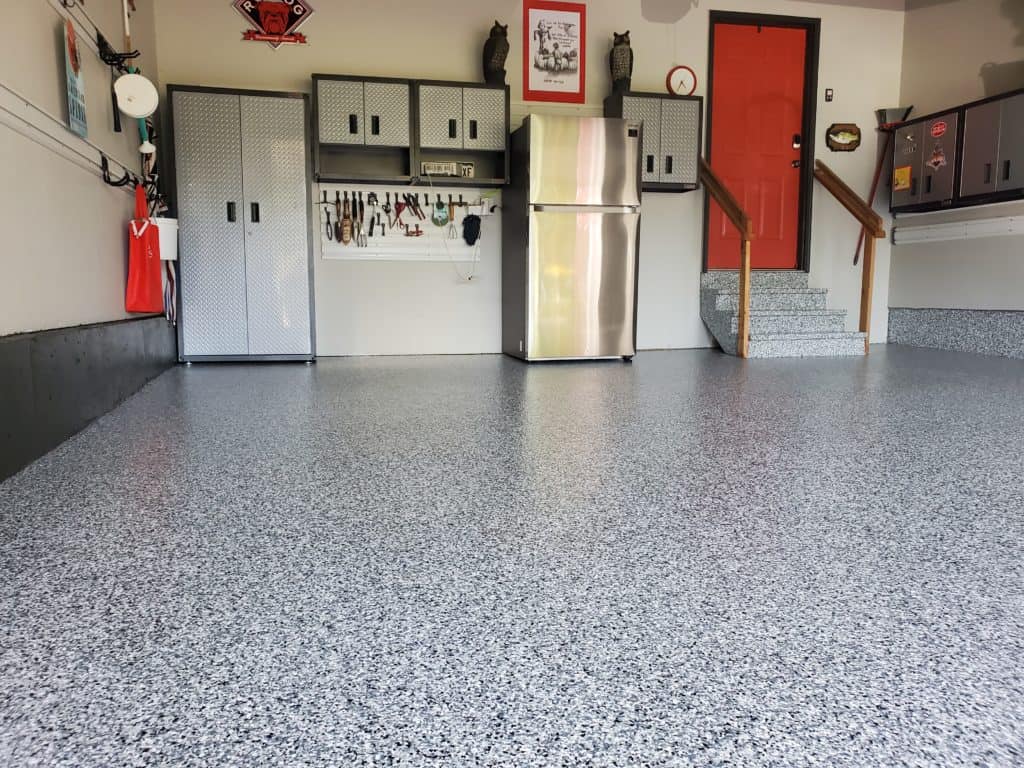
Have you ever looked down at your garage floor and thought, “This needs a serious upgrade?” Maybe it’s cracked, stained, or simply dull. You’ve probably considered epoxy flooring, the durable and visually appealing solution that’s become popular for garages across the country. But what if your garage floor isn’t concrete? Can you use epoxy on wood, or are you stuck with a plain, unfinished surface? The answer, thankfully, is a bit more nuanced than a simple yes or no.

Image: www.jorgesierrafoto.com
Applying epoxy to a wood floor might not be as straightforward as it seems, but it’s definitely possible with proper preparation and techniques. In this article, we’ll delve into the ins and outs of applying epoxy to wood, explore the potential benefits and challenges, and guide you through the process to achieve a durable and sleek finish for your garage.
Understanding the Challenges
Before jumping into the application process, it’s important to understand why applying epoxy to wood poses unique challenges compared to concrete. Wood, by its nature, is a porous material that expands and contracts with changes in temperature and humidity. This movement can make it difficult to create a stable base for epoxy that won’t crack or peel over time.
Preparing the Wood Floor
The key to successful epoxy application on a wood floor lies in meticulous preparation. Here’s a breakdown of the essential steps:
1. Assess the Wood Floor’s Condition
Start by examining the condition of your wood floor. Look for:
- Rotting or damaged wood: This needs to be replaced or repaired before epoxy application.
- Loose boards: Secure loose boards to ensure a stable base.
- Unevenness: Significant bumps or dips should be sanded down or leveled.

Image: cdn.limetreeaesthetic.com
2. Clean Thoroughly
A clean floor is crucial for good adhesion. Remove dirt, dust, grease, or any existing coatings with a powerful cleaner and a stiff-bristled brush. Pay extra attention to cracks or gaps where debris can accumulate.
3. Sanding is Key
Sanding the wood surface creates a smooth, slightly rough surface that provides better adhesion for the epoxy. Start with coarse-grit sandpaper to remove any imperfections. Gradually progress to finer grits to achieve a smooth finish.
4. Primer for Adhesion
Once the surface is prepped, apply a wood-specific primer designed for epoxy coatings. This primer helps seal the wood’s pores, creating a more uniform surface and improving adhesion. Allow the primer to dry completely before moving on to the epoxy.
Applying Epoxy to Wood
Now that your wood floor is ready, it’s time to tackle the epoxy application. Here’s a step-by-step guide:
1. Choose the Right Epoxy
Not all epoxy products are created equal. Research and choose an epoxy specifically designed for wood floors or wood substrates. These epoxies will be formulated to accommodate the natural expansion and contraction of wood, minimizing the risk of cracking or peeling.
2. Mix the Epoxy Carefully
Epoxy typically comes in two parts: a resin and a hardener. Mix these parts together thoroughly according to the manufacturer’s instructions. Improper mixing can affect the curing process and the overall strength of the epoxy.
3. Apply with Precision
Use a roller or squeegee to apply the epoxy evenly across the wood floor. Begin in one corner and work your way across the entire surface. Apply thin, even coats, avoiding pooling or excessive buildup.
4. Cure the Epoxy
Allow the epoxy to cure completely according to the manufacturer’s instructions. This might take several hours or even days depending on the specific product and the environment’s temperature and humidity.
Best Practices for Epoxy on Wood
To ensure a successful and long-lasting epoxy finish on your wood floor, consider these tips:
- Work in a well-ventilated area: Epoxy can release fumes, so ensure proper ventilation during application and curing.
- Temperature control: Ideal curing temperatures range from 60°F to 75°F. Avoid applying epoxy in extreme temperatures.
- Thin layers are key: Apply thin, even coats for optimal curing and reduced risk of cracking or bubbling.
- Avoid foot traffic: Allow the epoxy to cure fully before walking on it. The curing time depends on the specific product and environment.
Benefits of Epoxy on Wood Floors
Despite the preparation involved, applying epoxy to your wood floor can offer several advantages:
- Durability and Protection: Epoxy creates a tough, resilient surface that can withstand heavy foot traffic, abrasion, and chemicals.
- Easy Cleaning: A smooth epoxy surface makes cleaning a breeze. Simply sweep, mop, or use a pressure washer to remove dirt and grime.
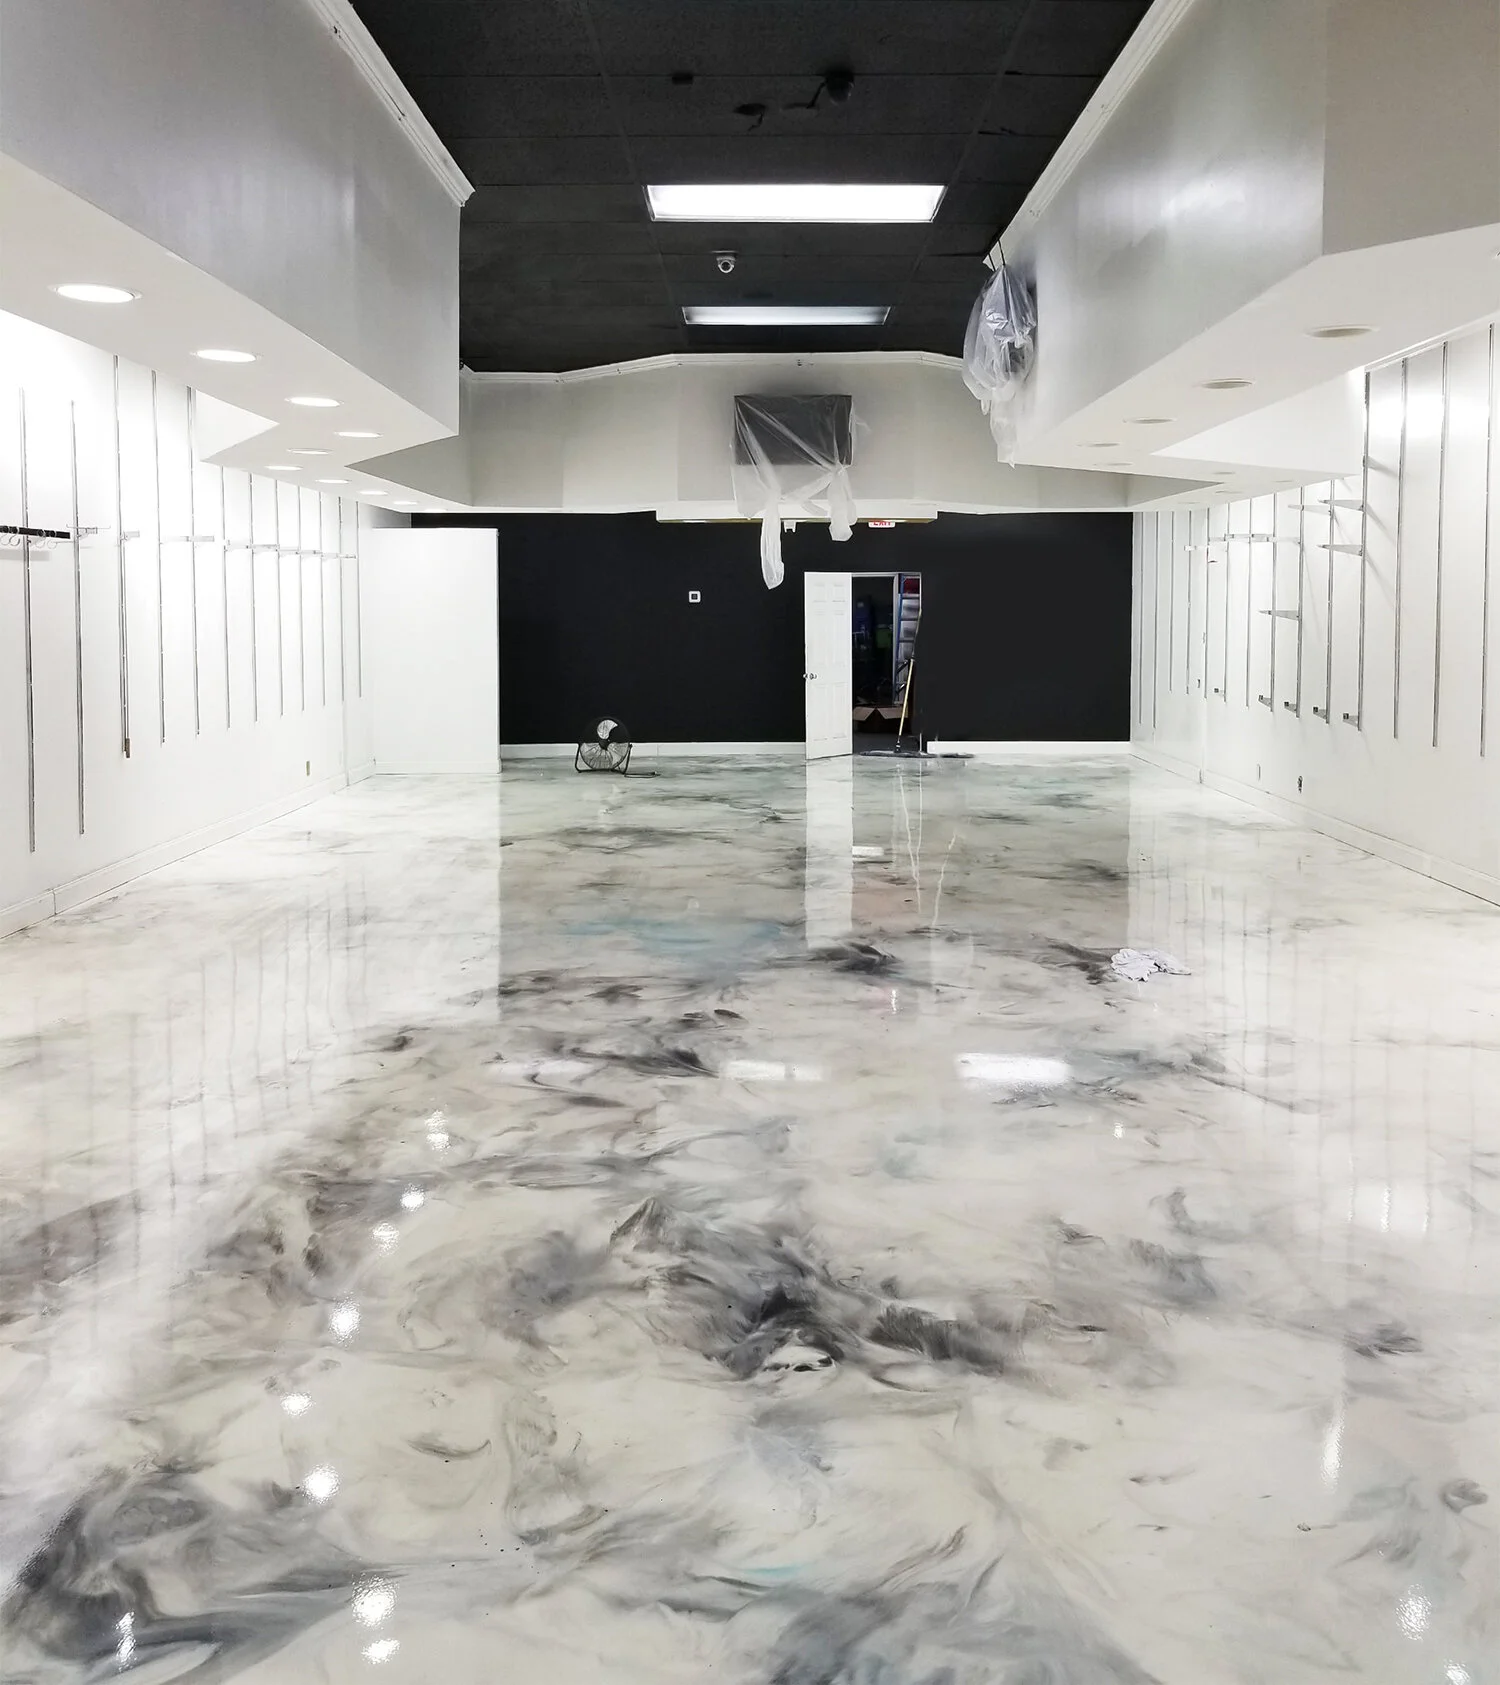
- Aesthetic Appeal: Epoxy comes in various colors and finishes, allowing you to personalize your garage floor and create a stylish, modern look.
- Increased Value: An epoxy-coated wood floor can add value to your garage, enhancing its functionality and visual appeal.
Can Garage Floor Epoxy Be Used On Wood
The Takeaway
Applying epoxy to a wood floor requires meticulous preparation and attention to detail. However, with proper techniques and the right products, it’s a feasible solution for creating a durable, attractive, and easy-to-maintain garage floor. By adhering to the steps outlined in this article, you can confidently transform your wood floor with the benefits of epoxy flooring. If you’re unsure about any steps, consulting a professional flooring contractor is always a sensible option.


