Have you ever stared at a pile of luxury vinyl plank flooring, feeling a mix of excitement and trepidation? The excitement is understandable – LVP offers durability, style, and a touch of luxury. But the trepidation arises from the inevitable: cutting. Fear not, fellow DIYer – with the right tools and techniques, cutting LVP is manageable. This comprehensive guide will equip you with the knowledge to slice through your planks with precision, leaving a professional finish and a sense of satisfaction.

Image: www.stkittsvilla.com
Luxury vinyl plank (LVP) flooring has become a popular choice for homeowners and renovators alike. Its resilience, stylish looks, and relative affordability make it a compelling option. Whether you are undertaking a full-scale flooring project or tackling a smaller DIY renovation, cutting LVP will be an essential part of the process. Mastering the art of cutting LVP allows you to achieve perfect alignment, create intricate designs, and seamlessly navigate obstacles, ultimately guaranteeing a professional-looking finish that will be the envy of your neighborhood.
Understanding the Tools: Essential Equipment for Cutting LVP
Before diving into the cutting process, let’s gather the right tools. An arsenal of equipment specifically designed for LVP cutting will ensure a smooth and accurate experience. The most common and recommended tools include:
- Utility Knife: A basic tool with a sharp, retractable blade, perfect for quick, straight cuts and trimming around corners.
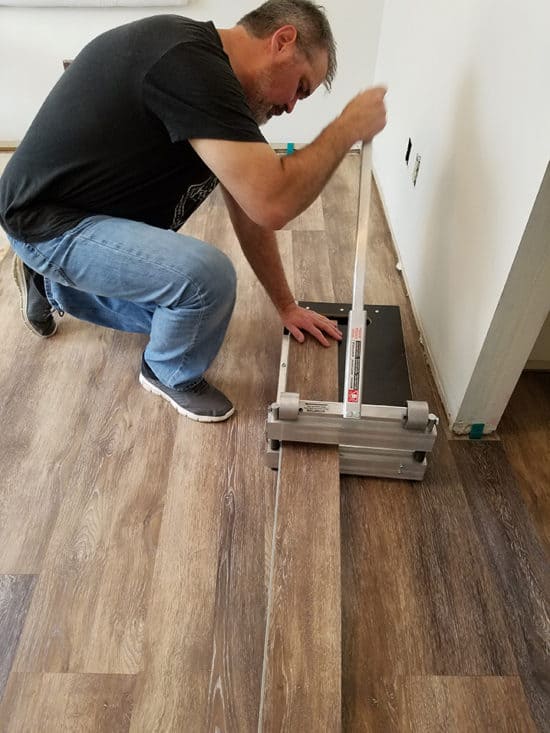
- Circular Saw: Equipped with a fine-tooth blade designed for cutting LVP, a circular saw delivers precise and smooth cuts, particularly for straight lines and larger sections.
- Jigsaw: For intricate cuts like curves, angles, or around obstacles, a jigsaw provides the flexibility needed to negotiate complex shapes.
- Straight Edge: A straight edge, either a metal ruler or a piece of wood, ensures accuracy when cutting with a utility knife or circular saw.
- Measuring Tape: Accuracy is paramount. A measuring tape will be your guide for precise measurements, ensuring a perfect fit for your planks.
- Pencil: Mark the cutting lines on your LVP planks clearly using a pencil.
- Safety Glasses: Always protect your eyes from flying debris while cutting LVP.
- Gloves: Protecting your hands while working with sharp tools is essential, ensuring safe and comfortable handling of the planks.
LVP Cutting Techniques: Methods to Master
Straight Cuts with a Utility Knife
For straight cuts, especially along edges and creating clean lines, a utility knife is a valuable tool. Here’s how to make a straight cut:
- Measure and Mark: Use a measuring tape to determine the required length. Mark the cutting line clearly using a pencil.
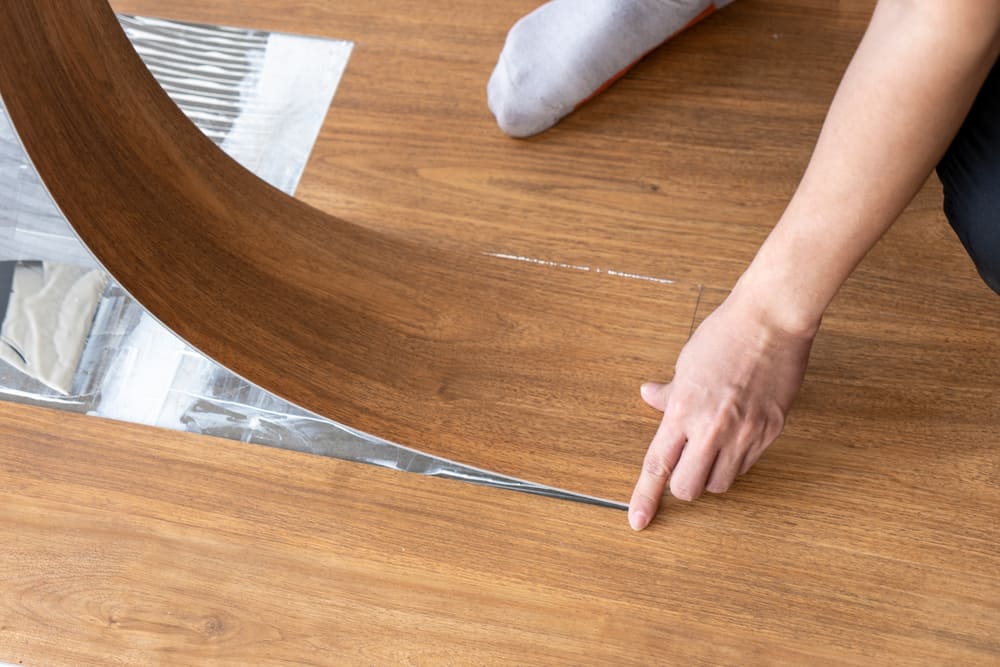
- Score the Surface: Align the utility knife blade with your pencil mark and apply consistent pressure to score the top layer of the LVP, creating a deep groove.
- Snap the Plank: Place the scored plank on a flat surface with the scored line hanging over the edge. Apply downward pressure to the plank, causing it to snap cleanly along the score line.
- Clean Edges: If the snap doesn’t produce a clean cut, use the utility knife to trim any rough edges for a smooth finish.

Image: thehoneycombhome.com
Precision Cuts with a Circular Saw
When you need a straight cut for a larger section, a circular saw delivers speed and accuracy. Remember to use a fine-tooth blade designed for cutting LVP:
- Secure the Plank: Position the LVP plank on a flat surface. You can use clamps or a sawhorse to ensure stability during cutting.
- Mark the Cutting Line: Measure and mark your cutting line using a pencil and straight edge.
- Adjust the Saw Depth: Adjust the blade depth of your circular saw to the thickness of the LVP plank, ensuring a clean cut without damaging the backing layer.
- Make the Cut: Align the saw blade with your pencil mark, use a steady hand, and guide the saw along the line for a precise cut.
Intricate Cuts with a Jigsaw
Navigate curves and complex shapes with ease using a jigsaw. For intricate cuts around obstacles, you will need a jigsaw with a fine-tooth blade designed for LVP materials:
- Plan the Design: Sketch out your desired shape on the plank, marking the cutting line with a pencil.
- Start the Cut: Drill a small pilot hole at the start of your cutting line to provide a starting point for the jigsaw blade.
- Guide with Care: Guide the jigsaw blade along the marked line, applying a gentle and steady pressure.
- Complete the Cut: Continue guiding the jigsaw along the cutting line until you have fully cut through the LVP plank.
Important Considerations: Tips for Success
As you embark on your LVP cutting journey, keep these key considerations in mind:
- Plan Ahead: Before making any cuts, take your time to plan your layout and design, ensuring accurate measurements and smooth transitions between planks.
- Clean Up as You Go: Remove sawdust and debris as you work to maintain a clean workspace and prevent slipping or accidents.
- Safety First: Always wear safety glasses to protect your eyes from flying debris. Always unplug the power tools when not in use.
- Practice Makes Perfect: Practice cutting on scrap pieces of LVP before tackling your actual flooring project to hone your skills and become more comfortable with the process.
LVP Cutting Mistakes to Avoid
Even with the best tools and techniques, mistakes can happen. Here are common LVP cutting mistakes and how to avoid them:
- Uneven Cuts: Avoid uneven cuts by using a straight edge, practicing steady movement with your tools, and checking your work regularly.
- Uneven Pressure: Apply consistent pressure when scoring with a utility knife and making cuts with a jigsaw for a smooth and precise finish.
- Forcing the Blade: Avoid pushing too hard on the cutting tool, as it can cause chipping and damage to the plank. Let the blade do the work.
- Overheating the Blade: Overheating can cause the blade to soften, leading to irregular cuts. Allow the blade to cool down if it overheats.
- Ignoring Dust Collection: Failing to collect sawdust can lead to a messy workspace and potentially damage the LVP. Use a vacuum cleaner or dust collector.
Beyond the Basics: Techniques for Advanced Cutting
For intricate designs, custom installations, or complex projects, explore these advanced cutting techniques:
- Miter Cuts: Create angled cuts using a miter saw to join planks at corners or create unique designs.
- Round-Over Cuts: Round the edges of LVP planks using a router for a softer, more decorative finish.
- Beveled Cuts: Achieve a subtle edge by making angled cuts along the length of the LVP plank, adding visual interest to your floor.
Best Way To Cut Luxury Vinyl Plank Flooring
The Rewards of Mastery: A Professional Finish
Mastering the art of cutting LVP flooring will not only transform your DIY projects but also enhance your home’s aesthetic appeal. The professional finish achieved with precise cuts and smooth transitions elevates the overall look of your flooring installation. It’s an accomplishment worth celebrating, a testament to your dedication and skills.
As you delve deeper into cutting LVP, remember that practice and persistence are key. With patience and the right techniques, you will gain confidence in your ability to transform any space. So, grab your tools, unleash your creativity, and enjoy the satisfaction of a project well done.


