Have you ever stared at a piece of engineered hardwood flooring, wondering how in the world you’re going to cut it to fit that awkward space? You’re not alone. Installing engineered hardwood flooring can be a rewarding DIY project, but mastering the art of cutting it can feel like a daunting task.

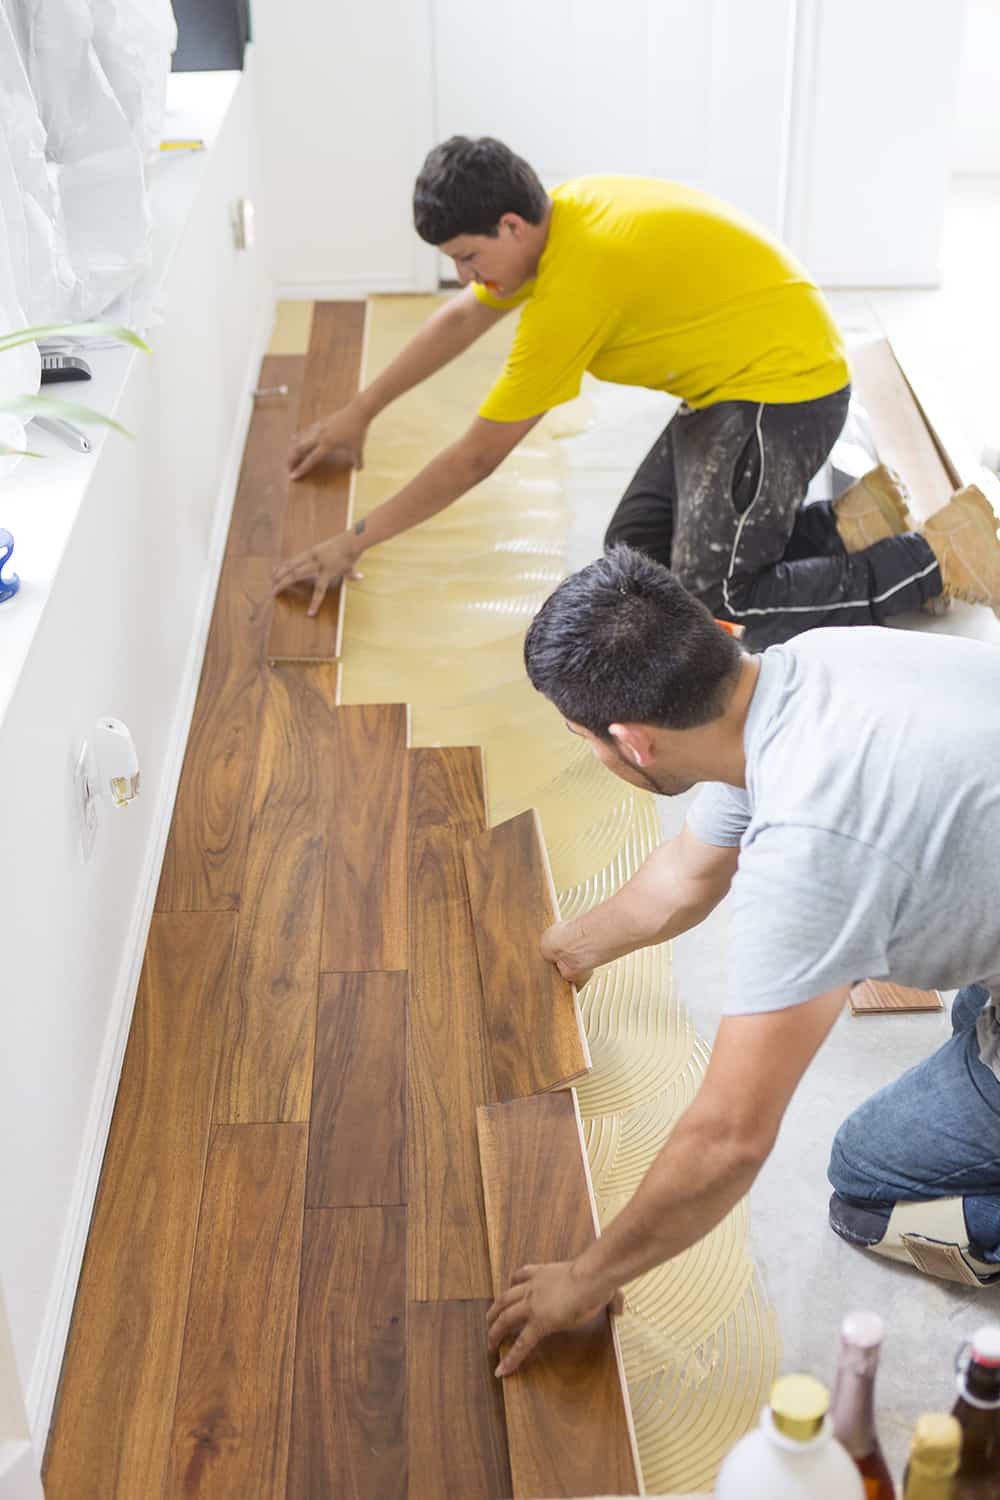
Image: www.atasteofkoko.com
Fear not, dear DIYer! This guide will arm you with the knowledge and techniques you need to make those perfect cuts, ensuring your flooring project is smooth sailing. We’ll delve into the best tools for the job, explore cutting techniques, and provide tips for achieving professional-looking results.
Understanding Engineered Hardwood Flooring
Before we dive into the cutting process, it’s crucial to understand what makes engineered hardwood flooring unique. Unlike solid hardwood, engineered hardwood comprises multiple layers. A thin veneer of real wood tops a core layer of plywood or other materials. This construction adds stability and resistance to moisture and temperature changes.
The Importance of Cutting Technique
The layered structure means that cutting engineered hardwood requires a different approach compared to solid hardwood. The key is to ensure clean, precise cuts that avoid damaging the top veneer and disrupting the structure of the core.
Tools of the Trade: What You’ll Need
Crafting perfect cuts requires the right tools. Here’s a list of essentials:
- Circular Saw: A versatile tool for making straight cuts and complex shapes.
- Table Saw: Ideal for achieving precise straight cuts and achieving consistent lengths.
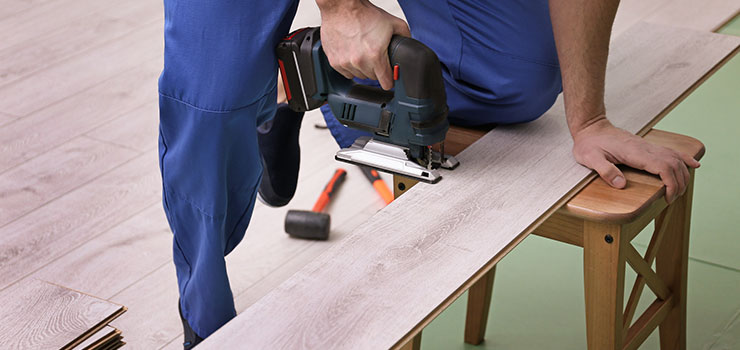
- Jigsaw: A must-have for intricate cuts and curves, allowing for flexibility in achieving unique shapes.
- Utility Knife: Used for scoring and trimming precise areas, often for final adjustments.
- Measuring Tape: The foundation of all accurate cuts.
- Hand Saw: A back-up option for quick cuts, particularly for small trimming jobs.
- Clamps: Securely hold materials in place for safer and more controlled cutting.
- Safety Gear: Eye protection, gloves, dust mask, earplugs – essential for protecting your health and safety during cutting.

Image: www.budgetdumpster.com
Cutting Strategies: Techniques for Success
Now, let’s get into the nitty-gritty of cutting engineered hardwood flooring. Choose the method that best suits the shape and complexity of the cut you need.
Straight Cuts: The Foundation of Flooring
For the majority of flooring installations, you’ll need to make straight cuts to achieve precise lengths and angles. Here’s how:
- Mark Your Cut: Use a measuring tape to mark the precise cut line on the flooring plank.
- Secure Your Plank: Clamp the plank to a sturdy work surface, ensuring it is securely held.
- Circular Saw Technique: If using a circular saw, position the blade along the cut line, keeping it parallel to the plank. Use slow, steady strokes to avoid splintering.
- Table Saw Precision: On a table saw, set the fence to your desired cut length and carefully feed the plank through the blade.
Complex Cuts: Bringing Your Vision to Life
When those straight cuts aren’t enough, your trusty jigsaw is ready to handle intricate curves and angles. Here’s a step-by-step guide:
- Plan Your Cut: Carefully draw the shape you want to cut on the plank, using a pencil or marker.
- Drill a Starting Hole: To prevent the jigsaw blade from slipping, drill a small hole at the start of your cutting line.
- Guide with Precision: Insert the jigsaw blade into the hole and follow the marked line, using a slow and steady motion.
- Go Slow and Steady: When cutting curves, avoid applying excessive pressure. Allow the blade to do its job, and move the jigsaw smoothly.
Essential Tips for Perfect Cuts
Here are some additional tips to help you achieve professional-looking cuts:
- Use a Cutting Guide: For straight cuts, consider using a cutting guide, which provides a stable, straight edge to follow.
- Score the Wood: Before using a saw, score the cut line with a utility knife. This helps create a cleaner edge and prevent splintering.
- Be Patient and Practice: Cutting engineered hardwood flooring takes practice. Don’t get discouraged if your first few cuts aren’t perfect.
- Clean Up: After each cut, remove sawdust and debris from the work area to maintain a clean and safe environment.
Avoiding Common Mistakes: Learning From Experience
Every DIYer makes mistakes. Here are some common errors to avoid:
- Incorrect Blade Selection: Ensure that you are using a blade appropriate for engineered hardwood. A fine-tooth blade is optimal for preventing splintering.
- Cutting Too Fast: Rushing the cutting process can easily result in splintering and uneven edges. Control your speed for cleaner cuts.
- Ignoring the Grain: Always cut with the grain, not against it. Cutting with the grain allows the blade to cut more easily and evenly.
- Forgetting to Measure Twice: Measure twice, cut once! This old adage is especially important when working with flooring.
Best Way To Cut Engineered Hardwood Flooring
Conclusion
Cutting engineered hardwood flooring seems intimidating at first, but with the right tools, techniques, and a little practice, you can achieve impressive results. Remember to be patient, pay close attention to detail, and prioritize safety. Embrace the learning process and enjoy the satisfaction of creating a beautiful and functional flooring space.


