Have you ever admired a gleaming, perfectly clean bathroom or kitchen floor, only to have your eyes drawn to the grimy, discolored grout lines? White grout, in particular, is notorious for attracting dirt, grime, mildew, and staining, making it a constant battle for homeowners. But fear not, cleaning your white grout doesn’t have to be an insurmountable task. This comprehensive guide will equip you with the knowledge and tools to restore your grout to its pristine white glory.

Image: phenergandm.com
From understanding the causes of grout discoloration to adopting effective cleaning techniques, we’ll delve deep into the world of grout care. Whether you’re dealing with light grime or stubborn stains, there’s a solution for you. By the end of this article, you’ll be armed with the information you need to tackle your dirty grout with confidence, leaving your floors looking sparkling clean and fresh.
Understanding the Enemy: Why Does Grout Get Dirty?
Before we dive into cleaning methods, it’s important to understand the enemy – the culprits responsible for the dreaded grout stains. The primary culprits include:
1. Foot Traffic & Everyday Debris:
- Dirt: Our shoes track in dirt, dust, and debris, which easily lodge themselves in the porous grout.
- Food Spills: In kitchens, food spills like coffee, wine, and sauces can stain grout quickly.
- Soap Scum: Bathrooms are breeding grounds for soap scum, which leaves a film on grout over time.
2. Mold & Mildew:
These unwelcome guests thrive in damp environments, often forming black or gray patches that are difficult to remove. Bathrooms with poor ventilation are particularly prone to mold growth.

Image: mromavolley.com
3. Time & Wear:
Over time, even with regular cleaning, grout can become dull and discolored simply due to wear and tear. Everyday use and exposure to harsh chemicals can erode the surface, leading to a less vibrant appearance.
Tackling Stubborn Grout Stains: A Comprehensive Guide
Now that we understand the root of the problem, let’s explore various methods to tackle those pesky grout stains and bring back the shine:
1. DIY Cleaning Solutions:
These simple solutions can work wonders for light to moderate dirt and grime.
a) Baking Soda & Water Paste:
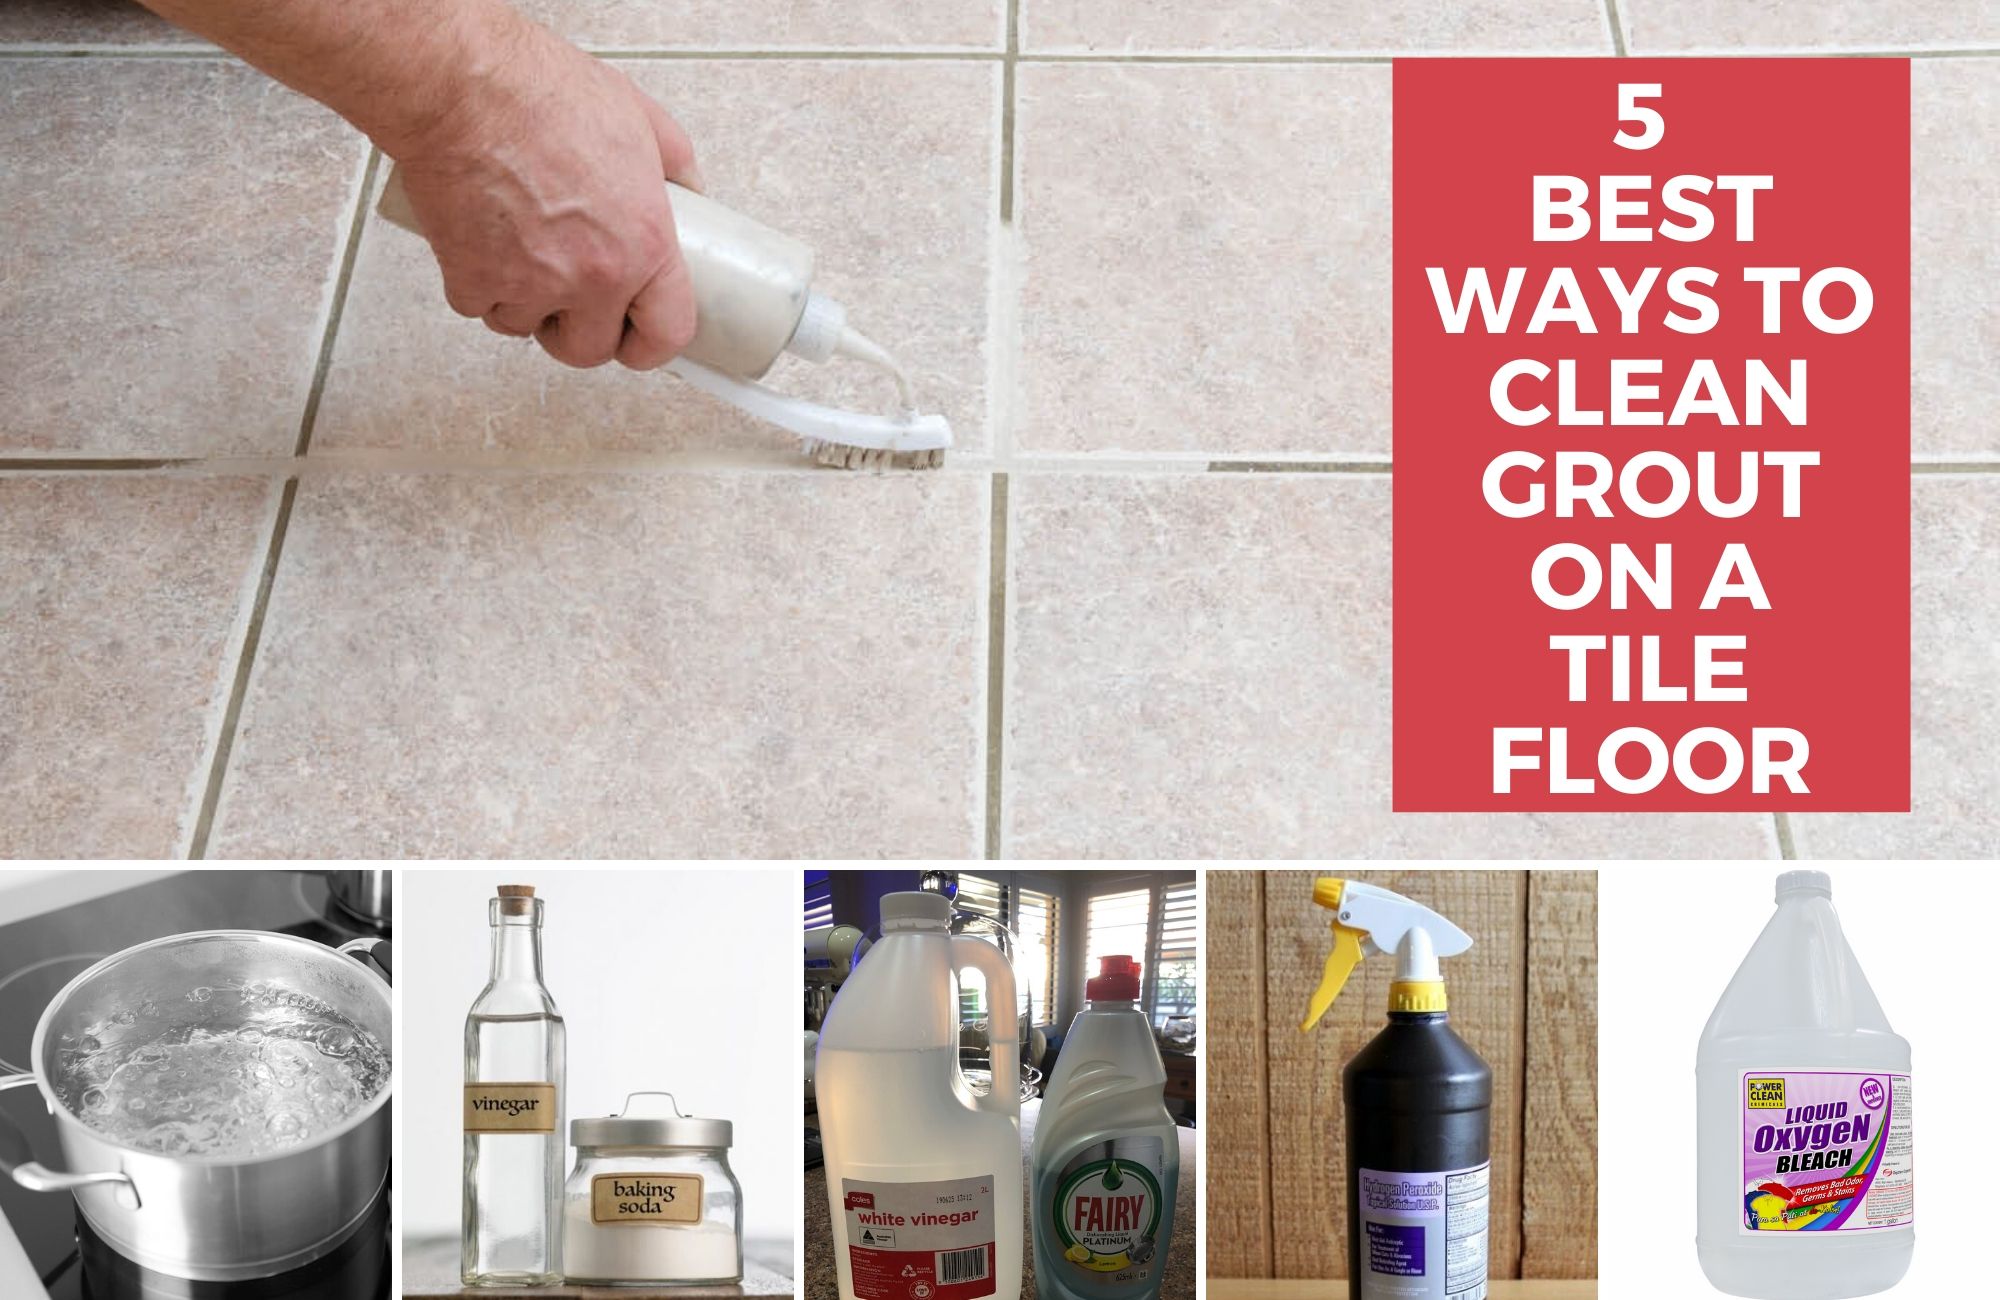
This classic combination is a gentle yet effective cleaner. Mix baking soda with water to form a paste, apply it to the grout, and scrub with a toothbrush. Rinse well with water and repeat as needed.
b) White Vinegar & Water Solution:
Vinegar’s acidity helps break down soap scum and grime. Dilute white vinegar with water (1:1 ratio) and apply it to the grout with a spray bottle. Scrub with a toothbrush and rinse thoroughly with water.
c) Hydrogen Peroxide:
Hydrogen peroxide acts as a bleaching agent, effectively whitening grout. Apply undiluted hydrogen peroxide to the grout, let it sit for 10-15 minutes, then scrub with a toothbrush and rinse.
2. Commercial Grout Cleaners:
For heavier stains, commercial grout cleaners provide stronger cleaning power. These products usually come in a spray bottle and often contain bleach or other powerful chemicals. Always follow the manufacturer’s instructions carefully and work in a well-ventilated area.
3. Grout Sealer:
To prevent future staining and make cleaning easier, consider sealing your grout. A grout sealer creates a protective barrier that repels dirt, moisture, and stains. Seal your grout after cleaning it thoroughly to maximize its effectiveness.
Preventing Future Discoloration: Proactive Measures
Prevention is key in maintaining clean and white grout. Incorporate these habits into your cleaning routine:
1. Regular Cleaning:
Sweep or vacuum your floors regularly to prevent dirt and debris from accumulating in the grout lines. Use a damp mop weekly to remove any remaining dirt and grime.
2. Timely Cleaning:
Address spills promptly to prevent permanent staining. Wipe up spills immediately and use the appropriate cleaning solution based on the type of spill.
3. Proper Ventilation:
In bathrooms, ensure adequate ventilation to minimize moisture build-up and reduce the risk of mold and mildew growth. Consider using a fan or opening a window after showering.
4. Use Floor Mats:
Place floor mats at entrances to catch dirt and debris before it’s tracked onto your floors.
5. Avoid Harsh Chemicals:
Use gentle cleaners for your floors to avoid damaging the grout and accelerating discoloration. Check the labels of cleaning products to ensure they are safe for your tile and grout.
Best Way To Clean White Grout Between Floor Tiles
Conclusion: Keep Your Grout Gleaming
Maintaining clean and white grout doesn’t have to be a chore. With the right approach, a little elbow grease, and these helpful tips, you can restore your floors to their former glory. Remember, regular cleaning and preventive measures are key to keeping your grout looking its best. So, grab your cleaning supplies, embrace the power of baking soda and vinegar, and embark on your journey to sparkling clean floors. And don’t forget, if you’re unsure about a particular cleaning method or suspect severe damage, consult a professional for guidance.


