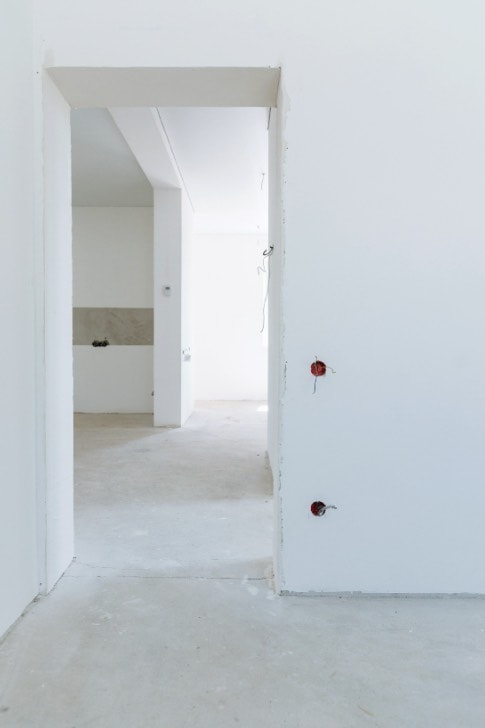
Have you just finished a plastering project, only to be met with a floor covered in a thick layer of plaster dust? It’s a situation that’s both inevitable and frustrating. The good news is, with the right tools and techniques, you can transform your plaster-covered floor from a disaster to a gleaming masterpiece.

Image: plasteringnational.com.au
Cleaning floors after plastering isn’t just about aesthetics. It’s about safeguarding your health. Plaster dust can be a real nuisance, irritating your lungs and skin. This guide will equip you with the knowledge and steps to tackle this task effectively, leaving you with clean floors and a renewed sense of accomplishment.
The Importance of Proper Floor Cleaning After Plastering
It’s not just about aesthetics – cleaning floors after plastering is about health and longevity. Here’s why it’s crucial:
- Lung Health: Plaster dust is a respiratory irritant. Inhaling it can trigger coughing, sneezing, and even more serious problems like asthma.
- Skin Irritation: Contact with plaster dust can cause skin rashes, itchiness, and dryness.
- Floor Protection: Plaster residue can permanently stain and dull your flooring, especially hardwood.
- Future Projects: Removing the plaster dust from the existing surface ensures a smooth finish for any subsequent paint, tile, or wallpaper applications.
Essential Tools for the Job
Before you embark on this cleaning mission, make sure you have the right tools. A well-equipped arsenal will make the process smoother and more efficient:
- Heavy-Duty Vacuum Cleaner: Choose one with a HEPA filter to capture fine dust particles effectively.
- Dustpan and Broom: For initial sweeping and to remove larger plaster clumps.
- Microfiber Cloths: These are great for wiping down surfaces and picking up stubborn dust.
- Bucket: For mixing cleaning solutions and rinsing cloths.
- Mop: A damp mop is essential for the final cleaning stage.
- Cleaning Solutions: Choose a gentle, all-purpose cleaner suitable for your floor material.
- Rubber Gloves: Protect your hands from plaster dust and cleaning solutions.
- Face Mask: A dust mask is vital to protect your respiratory system from plaster dust.
- Safety Glasses: Shield your eyes from flying debris and dust.
The Cleaning Process: Step-by-Step Guide
Now, let’s break down the cleaning process into manageable steps, ensuring a thorough and successful outcome:

Image: www.pinterest.com
1. Preparation is Key
Before you start cleaning, take some precautions to ensure a safe and effective process:
- Ventilation: Open windows and doors to maximize airflow and minimize dust accumulation.
- Protect Furniture: Cover furniture with sheets or plastic to keep it dust-free.
- Wear Protective Gear: Don your gloves, mask, and safety glasses to protect your health.
2. The Initial Sweep
Start by removing the bulk of the plaster dust:
- Sweeping: Use a broom and dustpan to sweep up the larger pieces of plaster and dust.
- Focus on Corners: Pay extra attention to corners and crevices where dust tends to accumulate.
3. Vacuuming: The Fine-Tuned Cleaning
Vacuuming is crucial for capturing the fine plaster dust particles:
- Use the Right Attachment: Opt for the brush attachment on your vacuum cleaner for the most effective dust removal.
- Multiple Passes: Go over the floors multiple times, ensuring you’re covering all areas.
- Empty Frequently: Empty your vacuum’s dustbin regularly to prevent dust from re-circulating.
- HEPA Filter: A HEPA filter vacuum is essential for capturing the finest dust particles.
4. Damp Cleaning: The Finishing Touch
The damp cleaning stage provides a final clean and helps remove stubborn residue:
- Cleaning Solution: Use a mild, all-purpose cleaner appropriate for your flooring type.
- Damp, Not Soaked: Mop your floor with a damp mop, avoiding excessively wet surfaces that can damage your flooring.
- Rinse and Repeat: Rinse the mop and bucket frequently to remove dirt and dust.
5. Drying: Patience is Key
Allow your floors to dry completely before walking on them. This will prevent mud and smudges from forming.
Tips for Different Floor Types
While the general cleaning process remains similar, certain floor types require specific considerations:
Hardwood floors:
- Gentle Cleaning: Use a soft brush and a wood floor cleaner.
- Avoid Excess Water: Water can damage hardwood floors, so keep the cleaning process relatively dry.
- Sealing: Once the floor is clean and dry, consider sealing it to prevent future staining.
Tile floors:
- Durable Surface: Tiles are generally resilient, so you can use a stronger cleaning solution if necessary.
- Grout Cleaning: Don’t forget to clean the grout lines, as they’re prone to dust accumulation.
- Grout Sealer: Seal your grout after cleaning to prevent future staining.
Carpeted floors:
- Deep Cleaning: Vacuuming is crucial, but consider a professional carpet cleaning to remove deep-seated dust and plaster particles.
- Carpet Cleaning Solution: Test any cleaning solution in an inconspicuous area before applying it to the entire carpet.
Beyond Cleaning: Preventing Dust
While cleaning is necessary, preventing plaster dust in the first place is even better. Here are some tips:
- Dust Control Products: Use dust control products during the plastering process to minimize dust production.
- Wetting Techniques: Add water to the plaster mix to create a more cohesive and less dusty material.
- Protective Barriers: Use plastic sheeting to isolate the work area and prevent dust from spreading.
Best Way To Clean Floors After Plastering
https://youtube.com/watch?v=kBtcjE7vC3k
Final Thoughts
Cleaning floors after plastering can be a tedious process, but by following these steps, you can transform your plaster-covered floors to a welcoming and healthy haven. Remember to prioritize safety with protective equipment and to choose appropriate cleaning solutions for your flooring type.
More than just a cleaning task, this is an opportunity to enhance the beauty and durability of your floors. Take pride in your work – you’ve successfully tackled the plaster dust, revealing beautiful and clean spaces ready for your next project.


