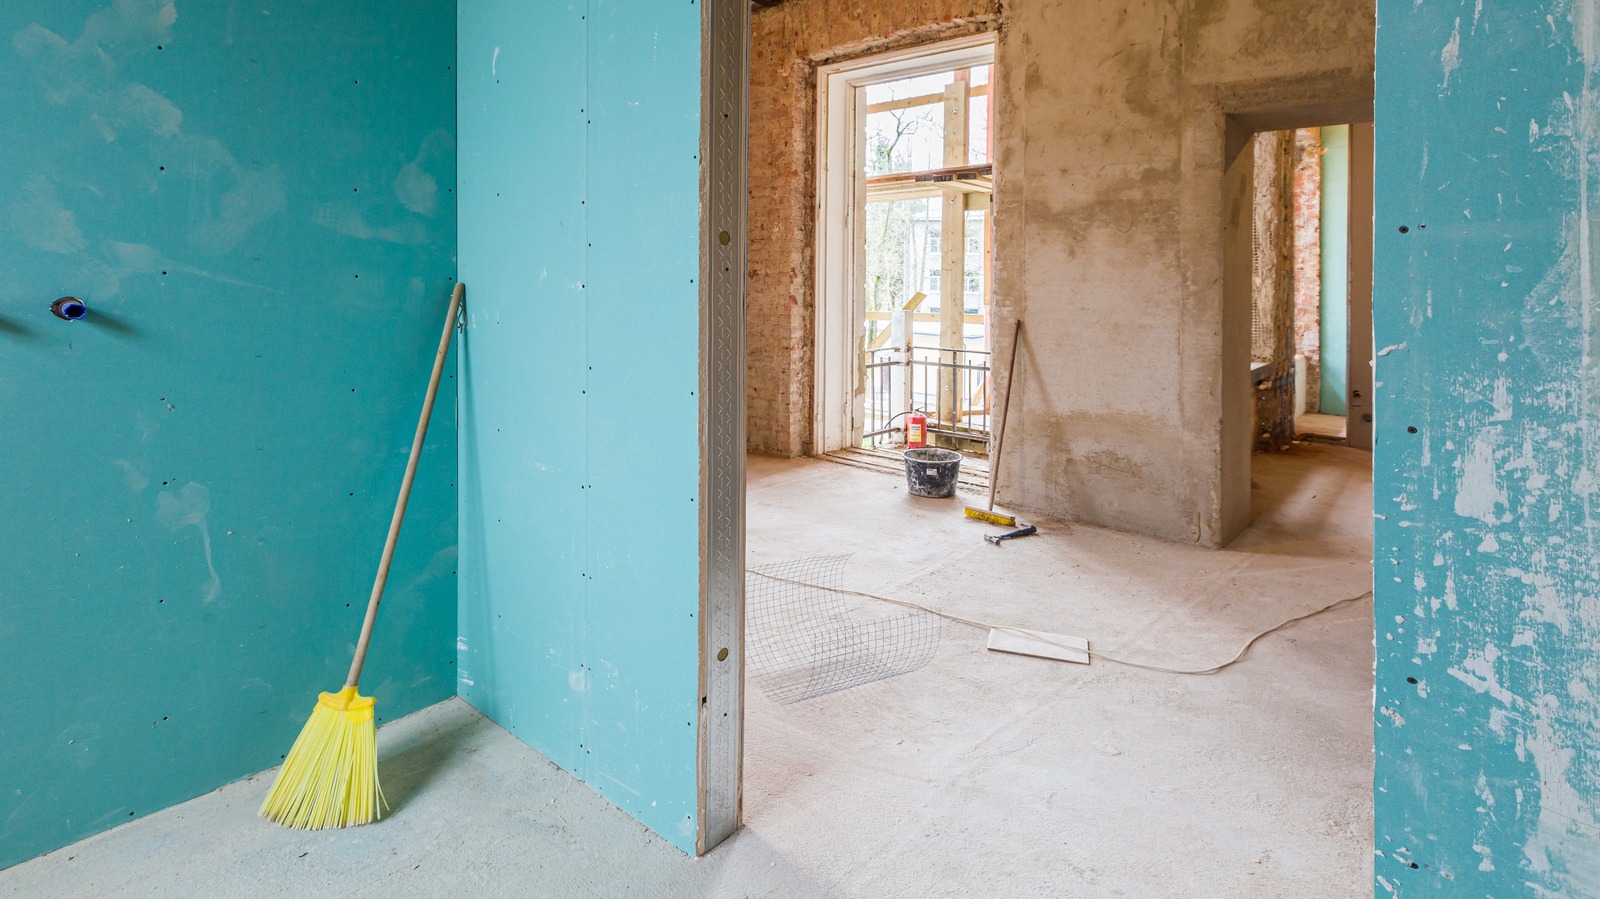
Have you just finished a home renovation project, thrilled with the fresh aesthetic but dismayed by the fine white dust coating your once pristine hardwood floors? That’s drywall dust, a notorious nemesis to anyone who has ever dared to touch a paint roller. It’s insidious, clinging to every surface with a tenacity that makes it seem more like a stubborn guest than a mere dust particle. But fear not, fellow DIY enthusiast! This guide will equip you with the knowledge and strategies to banish drywall dust from your hardwoods, revealing the gleaming beauty beneath.

Image: www.pinterest.com
Don’t underestimate the challenge of drywall dust. It’s not your typical household dust. It’s microscopic, practically invisible to the naked eye, and its fine particles can lodge themselves deeply into the wood grain. Traditional vacuuming often fails to completely remove it, leaving a ghostly white residue behind. That’s why mastering the art of cleaning drywall dust off hardwood floors requires a combination of techniques, a bit of elbow grease, and some savvy tools.
The Tools of the Trade: Armed and Ready
Before embarking on your drywall dust-busting mission, ensure you are properly equipped. There’s a certain satisfaction to knowing you’ve assembled the right arsenal to conquer this formidable foe.
- The Mighty Vacuum: A good vacuum cleaner is your first line of defense. Choose a model with a HEPA filter, as this is crucial for capturing the finest dust particles. A canister vacuum often performs better than an upright model, as it boasts more suction power.
- The Dust Mop: This humble yet effective tool is a crucial player. Opt for a reusable dust mop with a microfiber pad that traps dust rather than simply relocating it. You’ll need to change the pad frequently as it gets coated with dust.
- The Sticky Roller: A sticky roller is invaluable for grabbing stubborn dust particles that refuse to budge. The adhesive surface effortlessly grabs dust, especially those lurking in corners and along baseboards.
- The Microfiber Cloth: A damp microfiber cloth is perfect for wiping down surfaces after the initial dust removal process. Make sure it’s slightly damp, not soaking, to avoid leaving water streaks on your hardwood floors.
- The Bucket and Water: Sometimes the only way to conquer drywall dust is with a good old-fashioned scrub. Keep a bucket of clean water and a microfiber mop on hand for those truly difficult areas.
Step-by-Step: Taming the Dust Beast
Armed with your chosen tools, you’re ready to embark on your cleaning adventure. Be prepared, it’s a journey in multiple steps, but ultimately rewarding.
Step 1: The Initial Sweeping
The first step is to tackle the bulk of the dust. Use your trusty dust mop and gently sweep your floors in long, even strokes. Aim for a light touch, as pushing too hard can embed the dust deeper into the wood. Remember to go around all furniture and along walls, capturing the dust hiding in those tight spaces.

Image: mromavolley.com
Step 2: Vacuum, Vacuum, Vacuum
Now, it’s time to unleash the vacuum cleaner. Go over the entire floor meticulously, making multiple passes. Don’t neglect the edges, corners, and under furniture. For those hard-to-reach areas, consider using the vacuum cleaner’s crevice tool. Be patient, and let the vacuum cleaner do its magic.
Step 3: The Sticky Roller’s Role
Even with the vacuum, some stubborn dust particles will cling to the surface, especially in crevices. This is where your trusty sticky roller comes in handy. Use it around baseboards, along corners, and under furniture legs. Its adhesive surface will pick up those persistent dust particles you may have missed.
Step 4: The Final Wipe Down
With the majority of the dust gone, gently wipe down your hardwood floors using a slightly damp microfiber cloth. This step helps remove any lingering dust remnants. Avoid using too much water, as it could damage your wood floors.
Step 5: The Scrub for Persistent Problems
If there are stubborn patches of dust that refuse to budge, it’s time to bring out the heavy artillery – a bucket of water and a microfiber mop. Gently scrub the affected area with a damp mop. Avoid too much pressure, and make sure to wring the mop often to prevent water streaks.
Beyond the Basics: Prevention is Key
While you’ve just mastered the art of cleaning drywall dust from your hardwood floors, wouldn’t it be fantastic to minimize the mess in the first place? The key lies in a proactive approach to prevention. Think of yourself as a drywall dust warrior, a superhero with a plan to minimize the dust monster’s wrath.
- Protective Covering: Cover all furniture, appliances, and other belongings with tarpaulin, plastic sheeting, or drop cloths before starting your drywall project. This will shield them from the onslaught of dust.
- Dust Containment: Use plastic dust barriers, which work by creating a sealed environment around the work area. This helps prevent dust from escaping and spreading throughout your home.
- Wet Sanding Tactics: When sanding drywall, use a wet sanding technique, which drastically reduces dust creation. Wet sanding involves using water to suppress dust and produce a smoother finish.
- Constant Dust Removal: During the project, use a shop vacuum with a HEPA filter to clean up dust regularly. This prevents the dust from accumulating and becoming a thicker, more difficult-to-remove layer.
Best Way To Clean Drywall Dust Off Hardwood Floors
The Best Defense? A Clean Home
Drywall dust may be a formidable foe, but with the right tools, patience, and a proactive approach, you can reclaim your pristine hardwood floors. Remember, prevention is key, but even if dust does inevitably settle, you now have the knowledge and strategies to successfully banish it from your home. So, embrace the challenge, unleash your cleaning prowess, and get ready for a triumphant display of gleaming, dust-free hardwood floors.


