Imagine stepping out of a relaxing, steamy shower onto a beautiful, welcoming bathroom floor. No more cold tiles or cracked grout – just a warm, stylish surface that makes you smile. For many homeowners, this dream becomes reality with the installation of floating vinyl plank flooring. It’s a DIY project that can transform a bathroom, and with this guide, even beginners can confidently tackle it.

Image: sayenscrochet.com
Floating vinyl flooring has become increasingly popular in recent years – and for good reason. It’s durable, water-resistant, and incredibly stylish, offering a plethora of options to complement any bathroom décor. This guide will walk you through the entire installation process, from preparing your bathroom to securing the last plank, empowering you to create a beautiful and functional space.
Getting Ready: Preparing Your Bathroom for Installation
Before you dive into the exciting world of vinyl planks, it’s essential to ensure your bathroom is primed for the project. Think of this as laying the foundation for a beautiful, long-lasting floor.
-
Clear the Area: Start by moving all furniture, fixtures, and even bathroom accessories like rugs and towels. You want a completely empty space for optimal access and maneuverability.
-
Check the Subfloor: Your existing subfloor should be smooth, flat, and sturdy. This is crucial for the proper installation of floating vinyl plank flooring. Use a level to identify any uneven areas and, if needed, use a leveling compound to create a perfectly smooth base.
-
Moisture Barrier: As we’re dealing with a bathroom, a moisture barrier is an absolute necessity. Apply a polyethylene vapor barrier over your subfloor to prevent water damage. This prevents moisture from seeping through and warping your new flooring.
Laying Down the Foundation: The Underlayment
The underlayment acts as a buffer between your subfloor and the vinyl flooring. It serves several crucial purposes, including:
-
Leveling: It helps to smooth out any minor imperfections in your subfloor, creating a more stable base for your flooring.
-
Sound Reduction: The underlayment helps to absorb sound, reducing noise levels in your bathroom. This is especially beneficial if you live in a multi-level home or have thin walls.
-
Moisture Protection: Some underlayments have a built-in moisture barrier, offering additional protection against spills and leaks.
-
Insulation: The underlayment can add a touch of insulation, making your bathroom floor warmer and more comfortable to walk on.
Installing the Floating Vinyl Plank Flooring
Now comes the fun part! You’re ready to start laying down your new bathroom floor.
-
Start in the Corner: Choose a corner of your bathroom that you want to start with. This is usually the farthest point from the entrance. Make sure to leave a 1/4-inch expansion gap between the boards and any walls or obstacles. This gap allows for natural expansion and contraction of the flooring due to temperature changes.
-
Click and Lock: The beauty of floating vinyl planks lies in their simple click and lock system. Starting from the corner, you’ll interlock the planks together. Make sure each plank is tight against the one next to it. You can use a rubber mallet to gently tap the planks into place for a secure fit.
-
Stay Consistent: Ensure that you maintain a consistent pattern throughout the installation process. This gives your floor a polished and cohesive look. Some manufacturers may recommend staggered rows for added stability.
-
Work Your Way Around: Continue laying planks in rows, always working your way towards the door or the most prominent focal point in your bathroom. Remember to leave an expansion gap around all walls and stationary items.
-
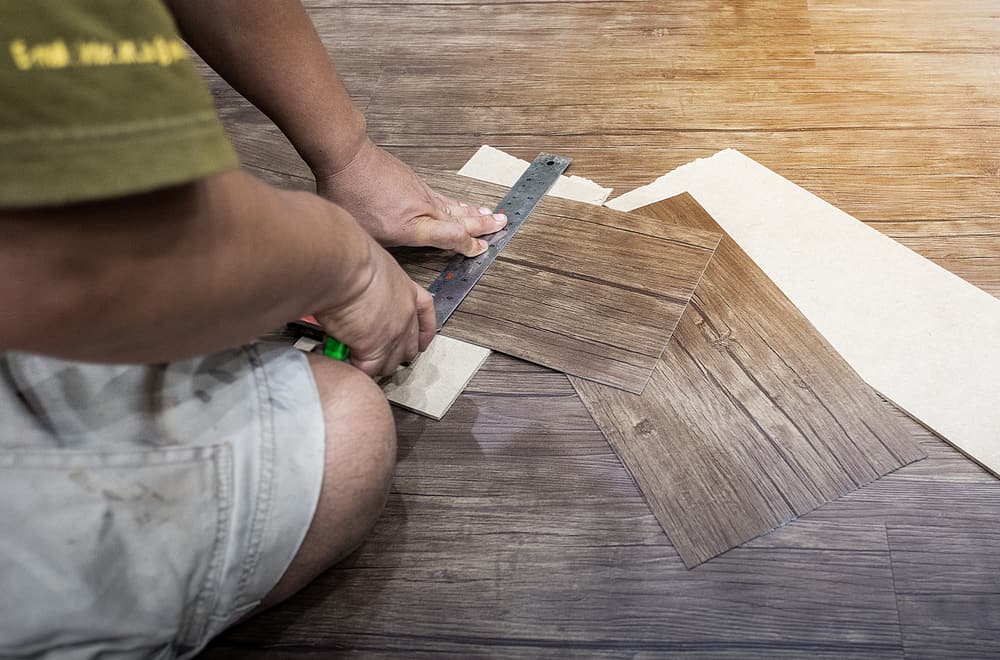
Cutting for Obstacles: You will likely encounter obstacles like a toilet, bathtub, or sink. Use a utility knife or a jigsaw to cut the planks to fit around these items accurately.
-
T-Molding for Transitions: If you need to transition between different flooring types, use a T-molding piece to create a clean finish.

Image: artbeanz.com
Finishing Touches: Securing and Maintaining Your New Floor
Once your entire bathroom floor is covered with the floating vinyl plank flooring, it’s time to ensure everything is secured and you’re ready for the final step: enjoyment!
-
Secure the Perimeter: Use quarter-round molding or shoe moldings along the perimeter of your bathroom to cover the expansion gaps and create a polished, finished look. It is especially important to install this molding before applying grout in the case of tiled walls.
-
Clean Up: With your new flooring in place, it’s time for a final cleaning. Use a damp mop or a broom with a soft bristle brush to clean up any dust or debris.
-
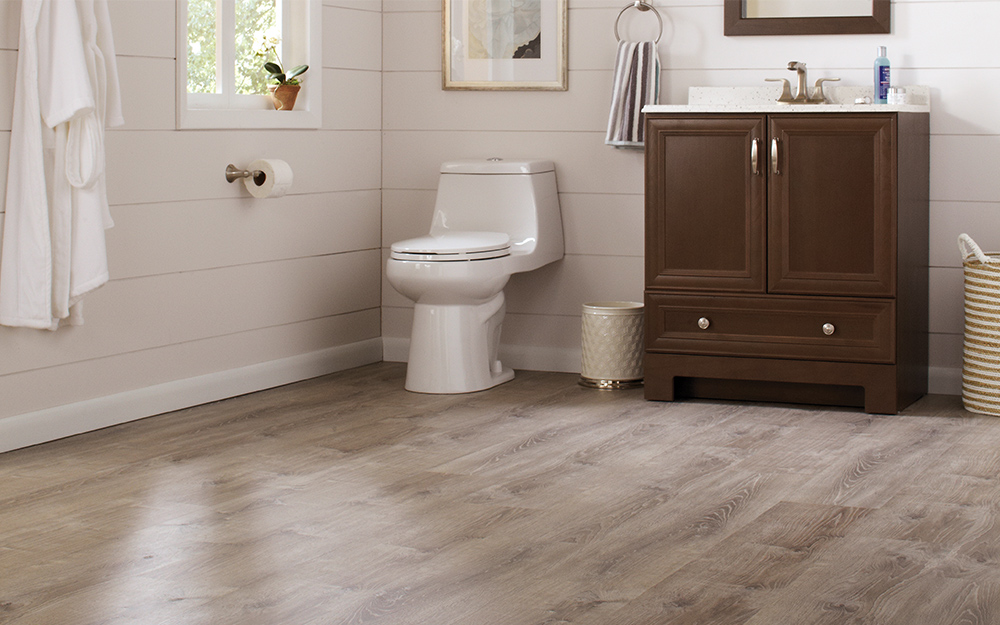
Enjoy: Stand back and admire your beautiful new bathroom floor. It’s time to enjoy the warmth, comfort, and style of your new flooring solution.
Expert Tips and Considerations
-
Subflooring: Ensure the subfloor is level before installation. If you have a concrete subfloor, a self-leveling compound may be necessary.
-
Underlayment: Choose a high-quality underlayment that offers moisture protection, sound absorption, and a smooth surface.
-
Vinyl Plank Thickness: Thicker planks offer greater durability and sound-dampening properties.
-
Waterproof vs. Water-Resistant: While both types are great options for bathrooms, waterproof planks offer the highest level of protection against spills and leaks.
-
Warranty: Ensure that your vinyl plank flooring comes with a warranty. This gives you peace of mind in the event of manufacturer’s defects.
How To Install Floating Vinyl Plank Flooring In A Bathroom
Conclusion
Installing floating vinyl plank flooring in your bathroom is a rewarding DIY project that transforms your space with style and practicality. The key is to plan meticulously, adhere to the instructions, and pay attention to detail. From preparing the subfloor to installing the planks and finishing touches, this guide provides a comprehensive approach to ensure a successful and beautiful outcome.
Remember, choosing the right underlayment, taking moisture protection seriously, and leaving those critical expansion gaps are vital for a long-lasting and aesthetically pleasing flooring solution. Now, roll up your sleeves, gather your tools, and get ready to create a bathroom that you can truly enjoy!


