Your vinyl plank flooring is a marvel of modern design – durable, water-resistant, and easy to maintain. But even the most robust flooring can benefit from a deep cleaning. That’s where this guide comes in, offering a step-by-step approach to keeping your vinyl floors looking their best.

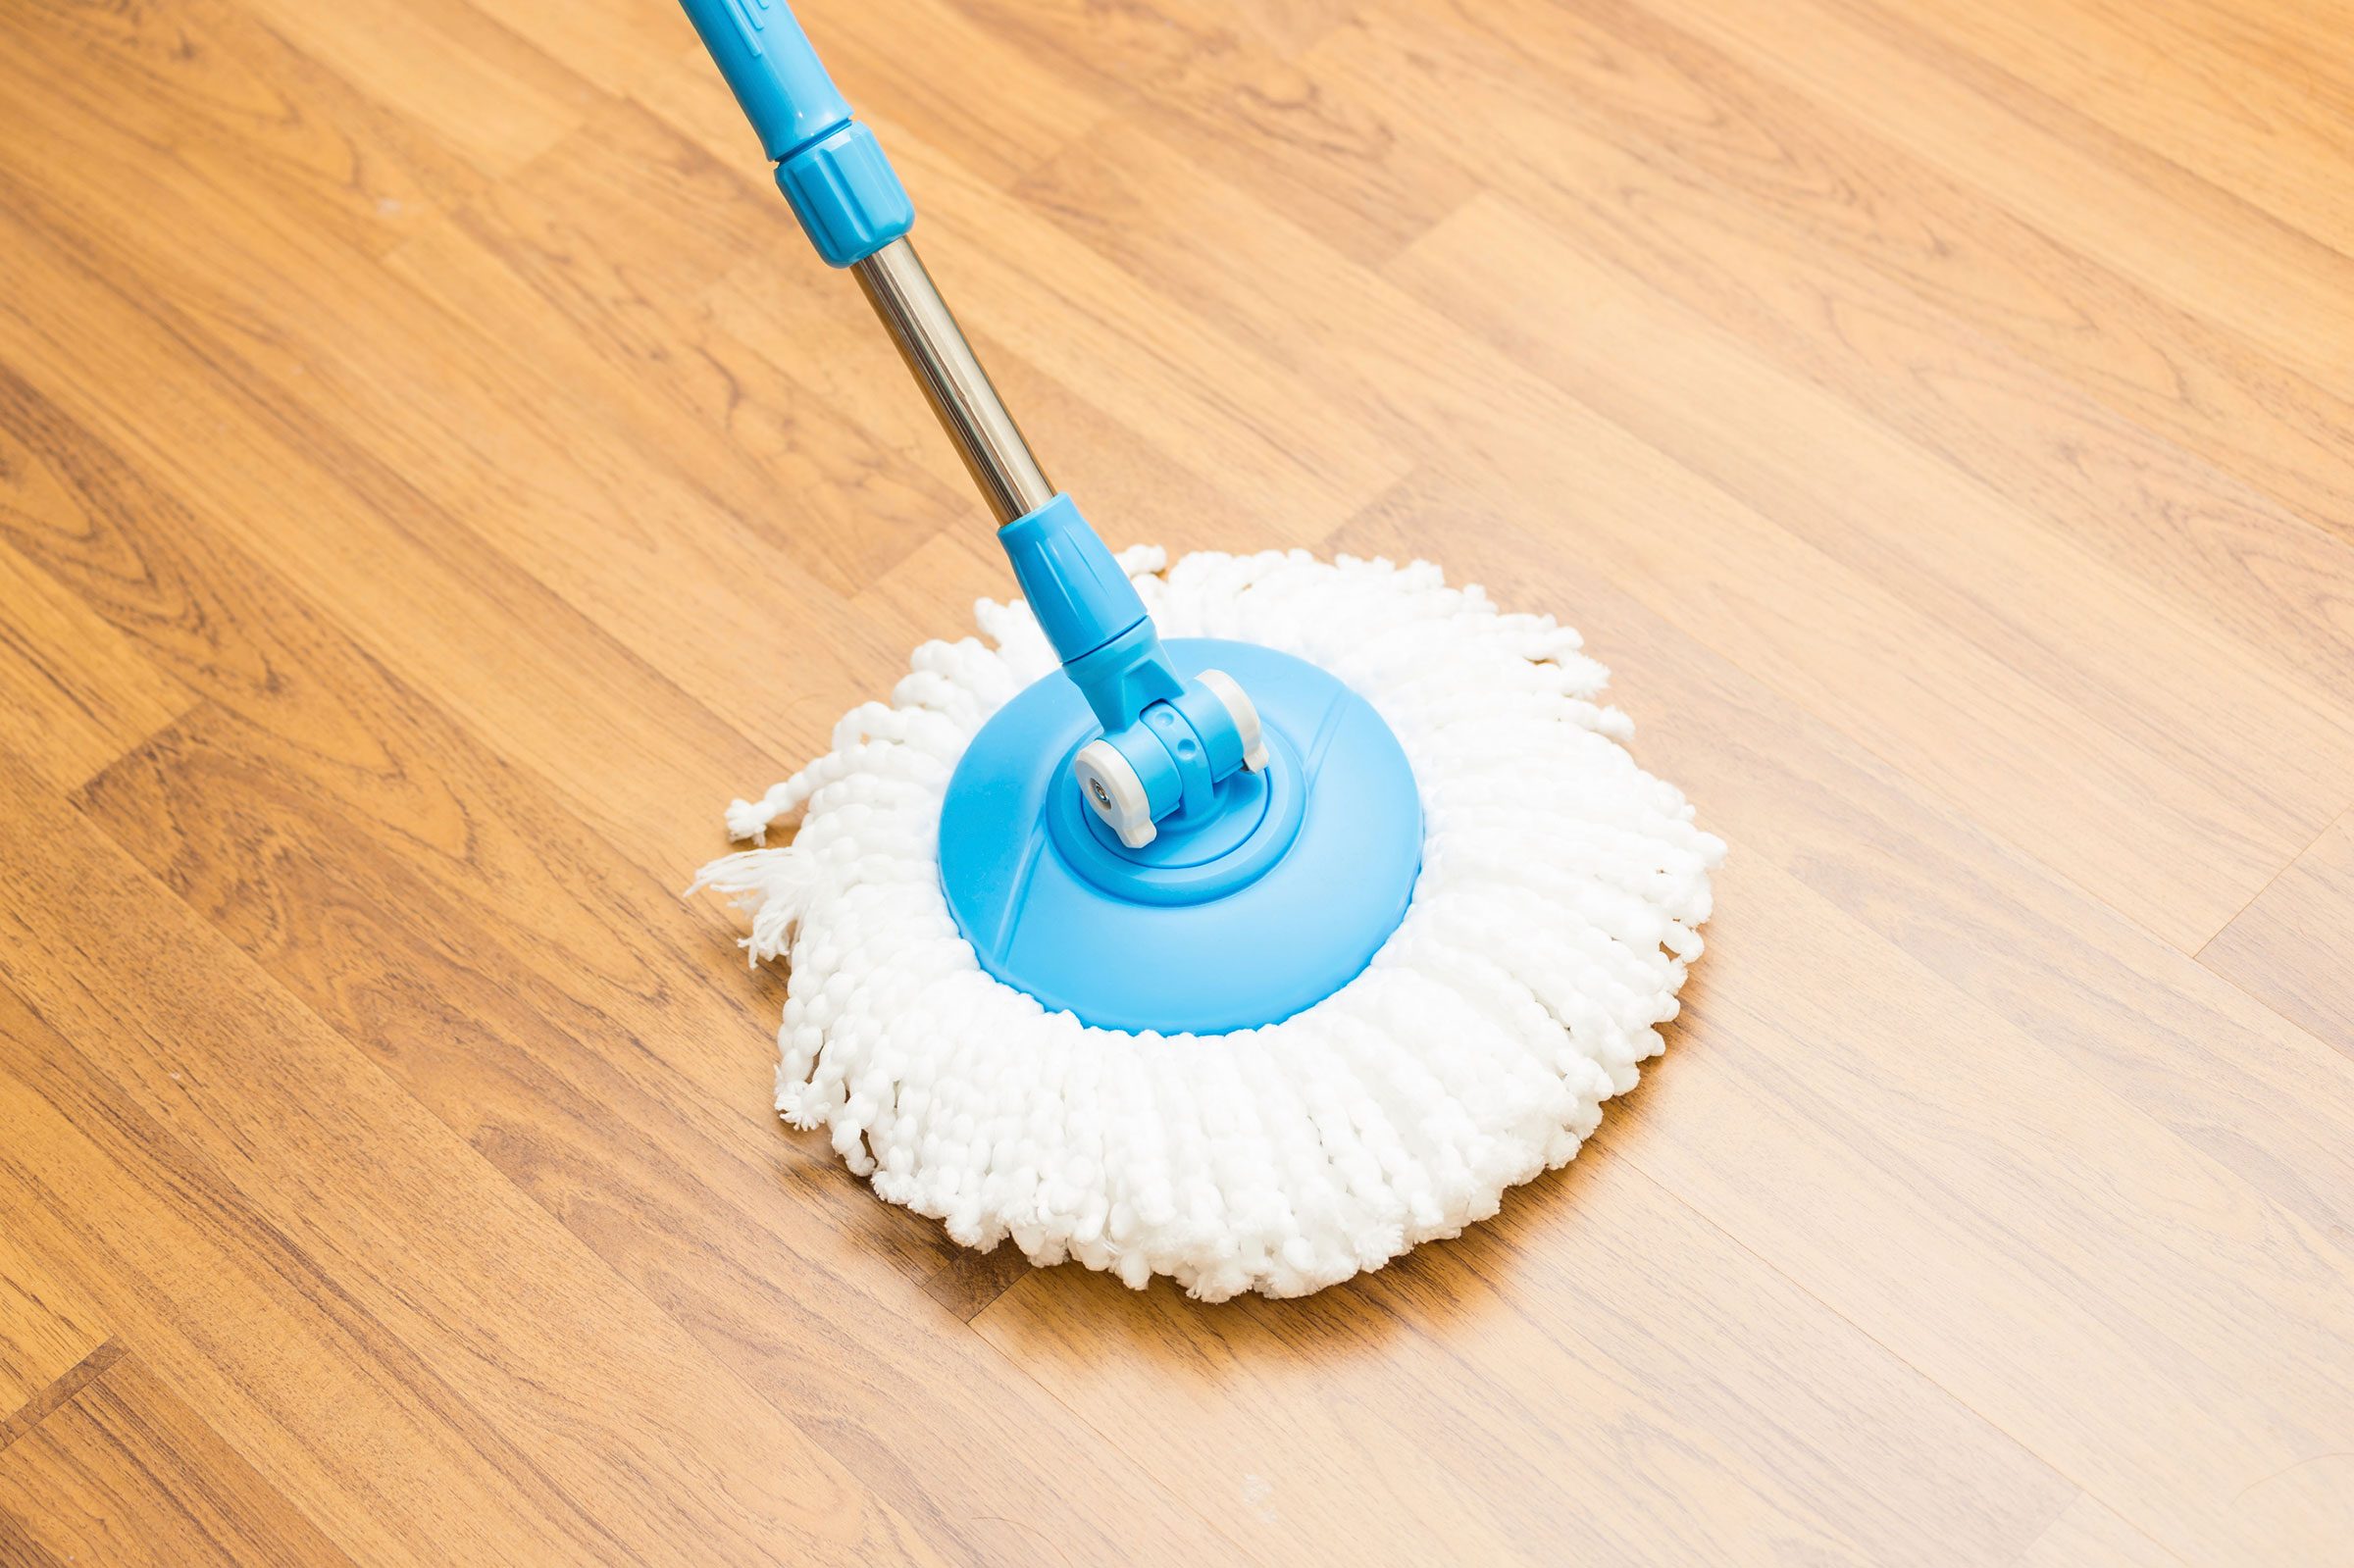
Image: www.rd.com
Why is a deep clean so important? Well, think of it like a car wash, but for your floor. Over time, dust, dirt, and grime accumulate, leaving behind a dull sheen and maybe even a slightly sticky feel. A deep clean erases the buildup, restoring the flooring’s vibrant color and protecting it from future damage. So, roll up your sleeves and let’s tackle those plank floors!
Gather Your Supplies:
Before you dive into the deep clean, equip yourself with these essential tools:
- Vacuum Cleaner: A powerful vacuum with an upholstery attachment is ideal for removing loose dust and debris.
- Mop and Bucket: Choose a microfiber mop for optimal cleaning and a bucket large enough for your cleaning solution.
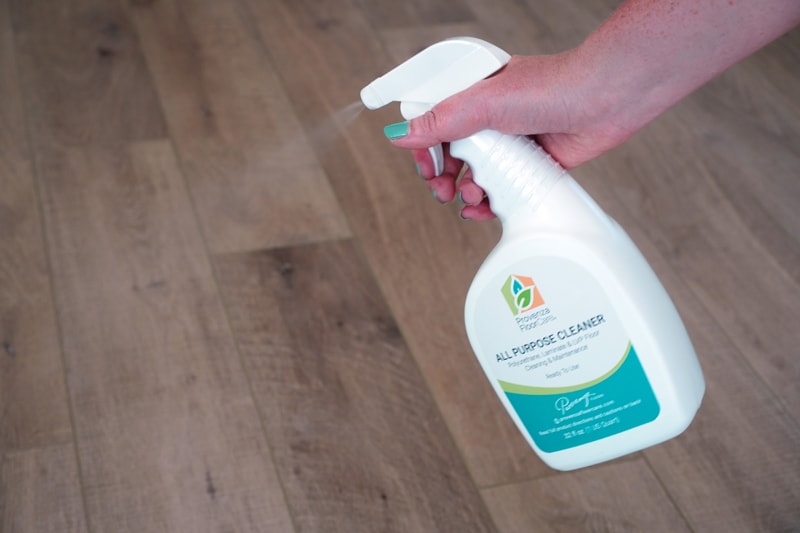
- Cleaning Solution: You’ll need a gentle, pH-neutral cleaner specifically designed for vinyl floors. Avoid harsh chemicals that can strip away the protective finish.
- Microfiber Cloth: Use this for a final polish after cleaning.
- Rubber Gloves: Protect your hands from the cleaning solution.
- Optional: A scrub brush (if needed for stubborn stains), a squeegee (for wet spills), and a dustpan and brush.
Prepare Your Workspace:
Now, it’s time to set the stage for a successful cleaning session:
- Clear the Area: Move furniture, rugs, and any other objects that may obstruct your path.
- Sweep or Vacuum: Get rid of surface debris and dust before tackling the deeper cleaning stage.
- Inspect for Stains: Take a moment to assess any noticeable stains or areas that require special attention.
Deep Cleaning Time:

Image: cinvex.us
Step 1: Pre-Treating Stains:
For tough stains, pre-treating is key. Here’s how to do it:
- Spot Cleaning: Dab the affected area with a clean, damp microfiber cloth, starting at the edge of the stain and working your way inwards. Apply a small amount of the cleaning solution directly onto the stain if needed.
- Gentle Scrubbing: If the stain persists, use a soft-bristled brush to gently scrub the affected area. Avoid using harsh scrubbing tools that might damage the flooring.
- Patience is Key: Let the pre-treatment sit for a few minutes, allowing the solution to work its magic.
Step 2: Mopping Magic:
Now, it’s time to bring out the mop and give your flooring a good scrub. Here’s how to do it properly:
- Mix Your Solution: Follow the instructions on the cleaning solution bottle and mix it with water in your bucket. You should have a slightly soapy, but not overly bubbly, solution.
- Mop Like a Pro: Dip your mop into the cleaning solution, wringing out excess water so it’s damp but not dripping.
- Work in Sections: Mop your floor in small sections, working your way through the entire area.
- Rinse and Repeat: If necessary, rinse your mop head in clean water and repeat steps 2 and 3.
Step 3: The Final Touches:
After mopping, your flooring is almost sparkling clean. Here’s how to finish the job:
- Dry Thoroughly: Once you’ve cleaned the entire area, use a clean microfiber cloth to wipe up any remaining moisture. This will prevent streaks and ensure a smooth, even finish.
- Polish for Shine: If desired, apply a vinyl floor polish (following the manufacturer’s instructions) for an extra layer of shine and protection.
Tips for Deep Cleaning with a Twist:
Now that you’ve mastered the basics, let’s explore some creative and effective techniques for deep cleaning your vinyl plank floors:
- Steam Cleaning: For a more thorough and germ-killing clean, consider using a steam cleaner. The hot steam loosens dirt and grime, leaving your floors looking truly spotless.
- Baking Soda Power: For stubborn stains, sprinkle a bit of baking soda on the affected area and let it sit for a few minutes. Then, sprinkle with water, gently scrub, and rinse with a damp cloth.
- Vinegar Wonder: Mix equal parts white vinegar and water in a spray bottle, and use this solution to clean your vinyl flooring. The vinegar is a natural disinfectant and helps to remove stains and grime.
Preventative Measures:
A clean floor doesn’t end when you’ve finished your deep clean. Here are some preventative measures to keep your vinyl floors looking their best:
- Regular Sweeping or Vacuuming: Sweep or vacuum at least once a week to remove dust and debris.
- Spot Clean Spills Quickly: Attend to spills as soon as they happen. The longer a spill sits, the harder it will be to remove.
- Use Floor Mats: Place mats at entryways to trap dirt and moisture from shoes.
- Protect from Scratches: Use furniture pads to prevent furniture legs from scratching your flooring.
How To Deep Clean Vinyl Plank Flooring
Conclusion:
Deep cleaning your vinyl plank flooring is a simple yet rewarding task. By following these steps and employing some creative cleaning techniques, you can transform your flooring from dull to dazzling. Remember, a little bit of preventative maintenance goes a long way in preserving the beauty and longevity of your flooring for years to come. So, grab your supplies, put on some catchy tunes, and get ready to make your vinyl plank floors shine!


