Have you ever admired the rich, vibrant hue of a beautifully stained hardwood floor? Perhaps you’re dreaming of transforming your own floors from dull to dazzling. But a question might linger in your mind: how many coats of stain do you truly need to achieve the perfect finish?

Image: johnnycounterfit.com
The answer, like many things in the world of woodworking, is not a simple one. It depends on a variety of factors, from the type of stain you choose to the desired level of darkness and depth. Understanding these factors is key to getting the finish you envision. In this guide, we’ll delve into the world of wood stain, uncover the secrets behind its application, and help you determine the right number of coats for your hardwood floors.
The Why Behind the Coats: Understanding Wood Stain
Think of wood stain as a clever chameleon. It doesn’t change the wood’s natural texture, but it allows you to subtly enhance its color or create dramatic transformations. Wood stain works by penetrating the wood’s pores, allowing pigment molecules to bond with the wood fibers. The result? A beautiful, unified color that highlights the wood’s underlying grain patterns.
Factors Influencing the Number of Coats
The number of stain coats you apply, much like the number of layers of paint, plays a role in the final look. Here are some key factors to consider:
- **Desired Color Intensity:** More layers typically lead to a deeper, more intense color. If you’re aiming for a dramatic makeover, multiple coats may be your best bet. But if you want a subtle highlight, one or two coats could be sufficient.
- **Type of Wood Stain:** Some stains are formulated to be more transparent, requiring multiple coats to achieve a noticeable color change. Others are more opaque, providing a starker color transformation with fewer coats.
- **Wood Species:** The porosity of the wood itself impacts how much stain it absorbs. Some woods like oak are known for their porous nature, leading to deeper stain penetration. A more dense wood like maple might require more coats to achieve the same color depth.
- **Pre-Existing Color:** If you’re staining over previously stained wood, the existing color will influence how the new stain takes hold. In this case, you may need more coats to achieve your desired color or to completely cover the old stain.
The Art of Application: Techniques for Success
Applying stain is an art form that takes practice and patience. Here’s a step-by-step guide to ensure the best results:

Image: interior.tn
Preparation is Key
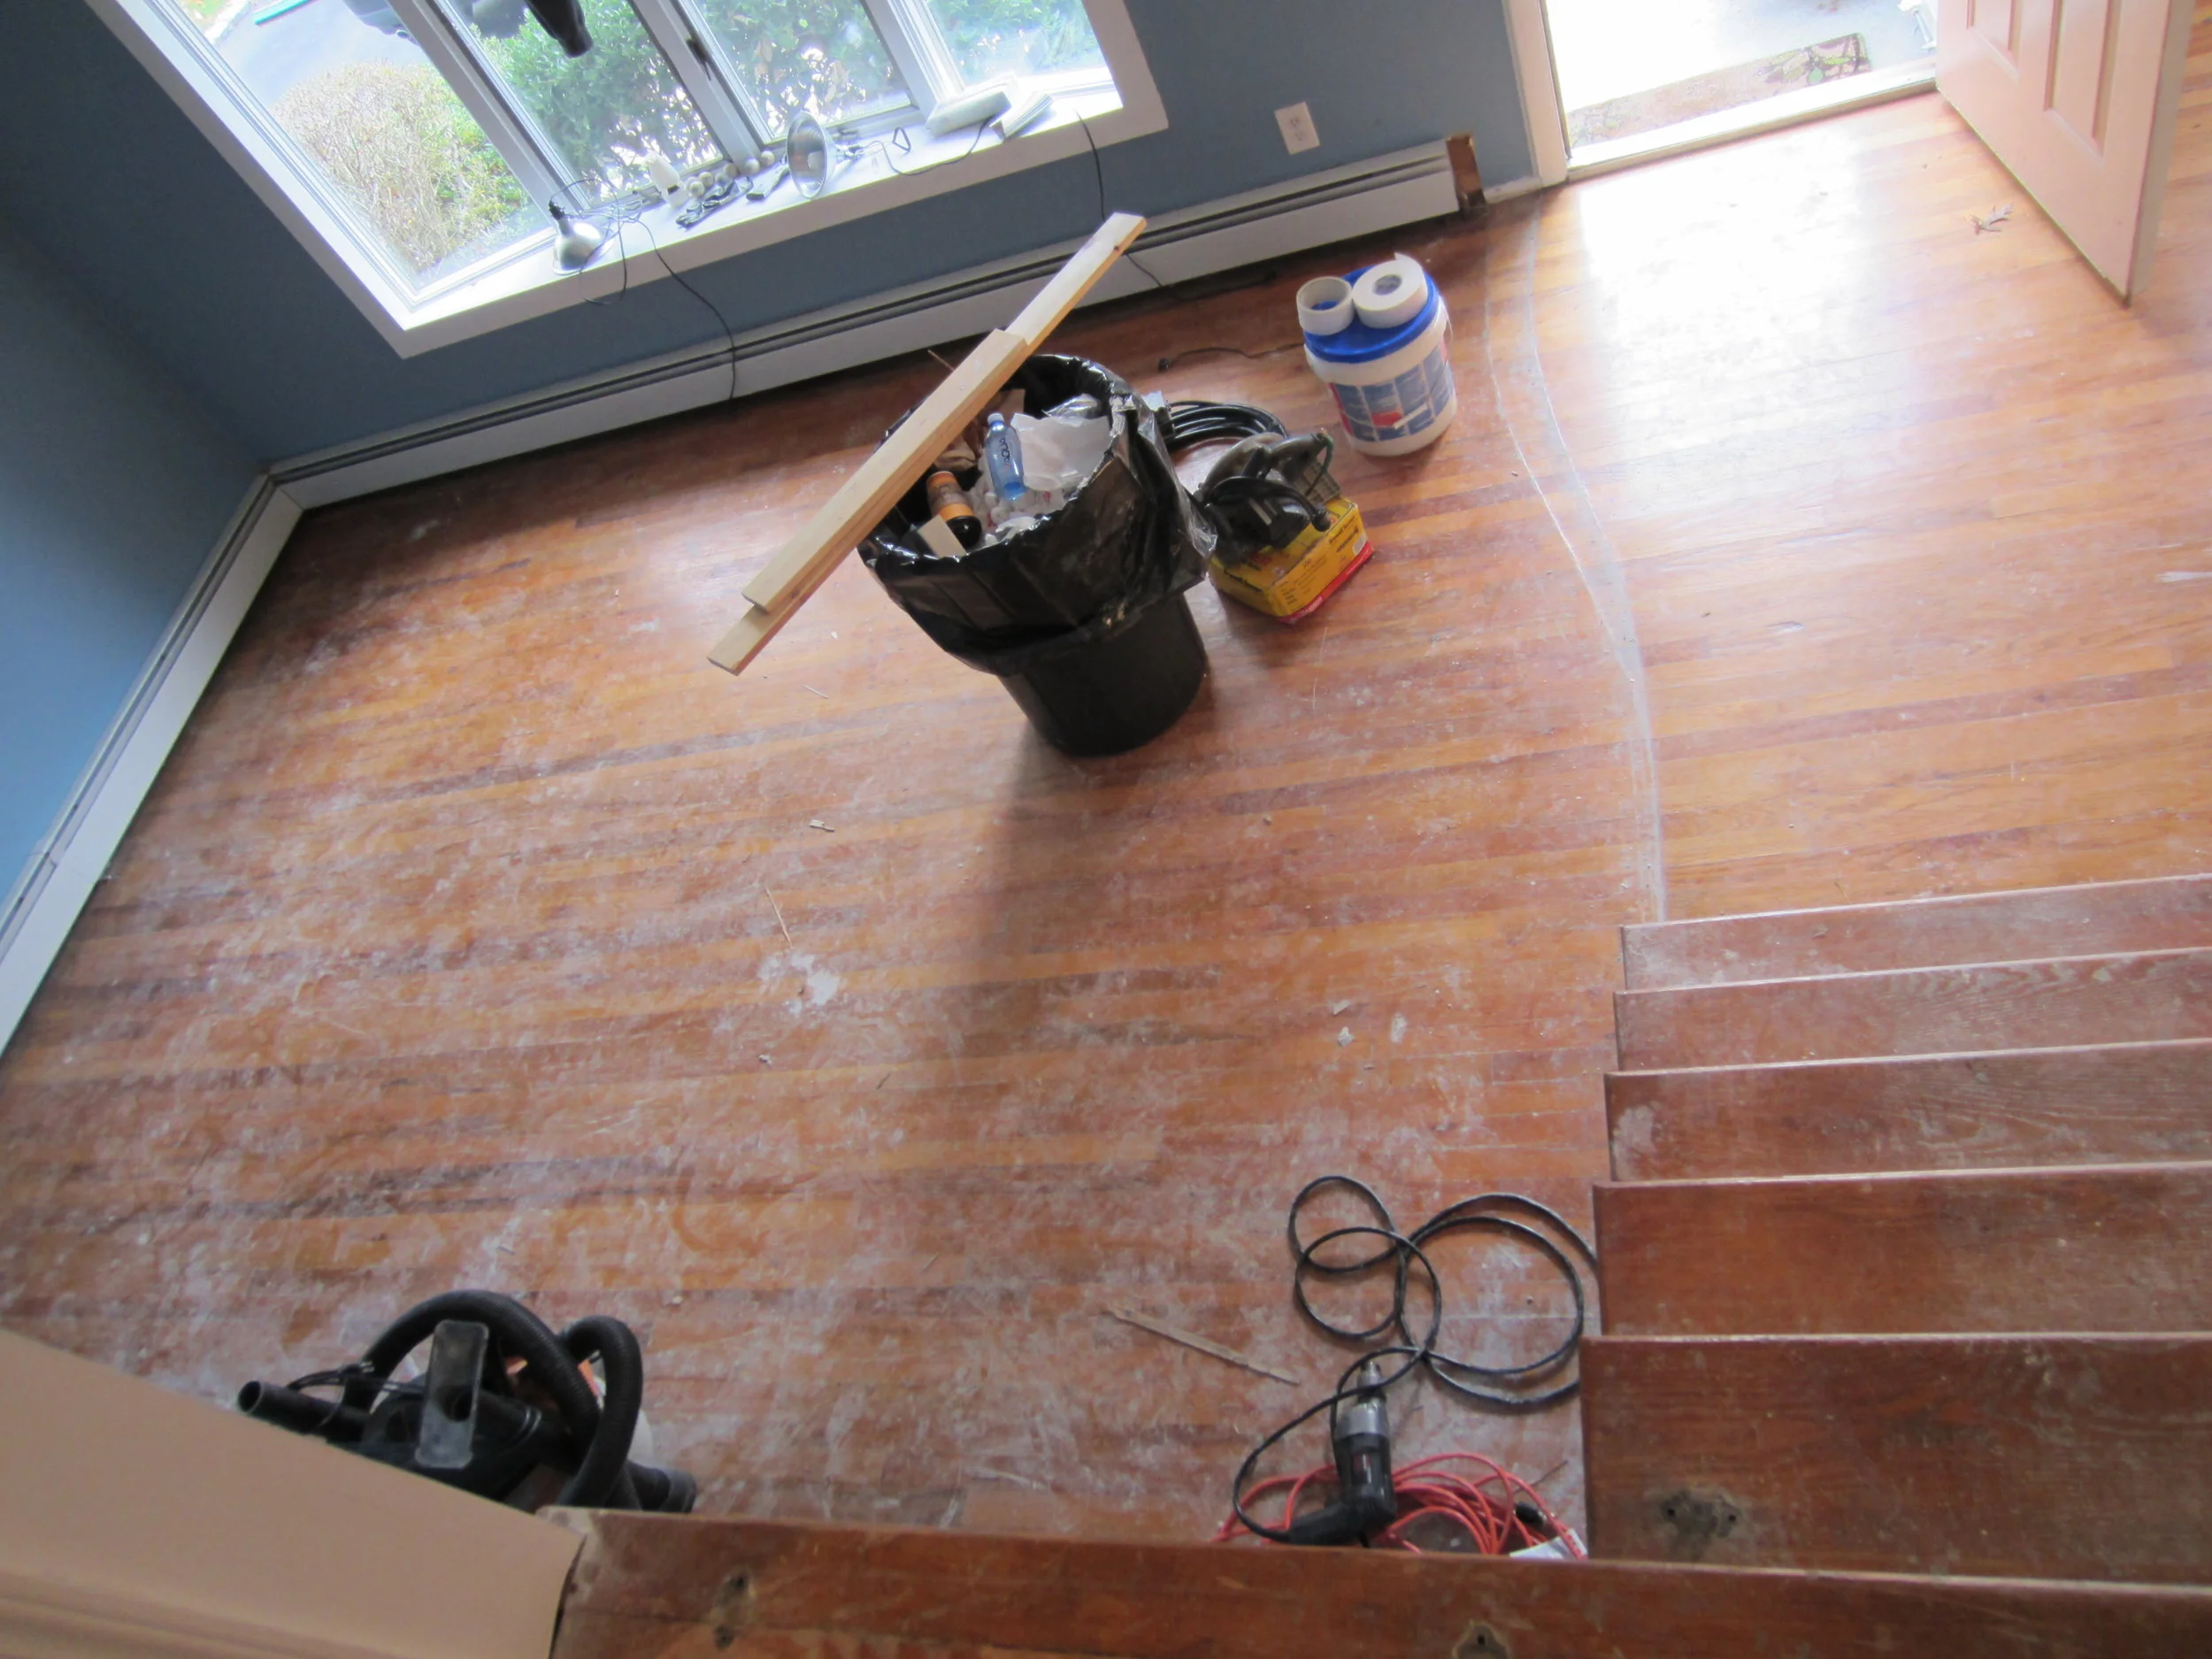
You’ll need to properly prepare your hardwood floors before applying any stain to ensure a smooth and even finish.
- **Cleaning:** Thoroughly clean your floors with a wood floor cleaner to remove dirt, grime, and any residues that might interfere with the stain’s penetration.
- **Sanding:** Sanding is essential for achieving an even and smooth surface. Use progressively finer grit sandpaper (starting with 80 grit, then 120, and finishing with 150 grit) to remove any imperfections and create an ideal surface for the stain.
- **Vacuuming:** Remove all sanding dust with a vacuum cleaner, paying special attention to corners and crevices. Any dust left behind can affect the stain’s appearance.
The Stain Application
After the prep work comes the fun part: applying the stain itself. Here’s a breakdown of some common methods:
- **Brush Application:** A traditional and versatile method. Use a natural bristle brush to apply a thin, even coat of stain. Brush with the grain of the wood for a natural look. Remember to not over-apply the stain.
- **Cloth Application:** A less messy option, especially for large areas. Dip a clean cloth, such as a cotton rag, into the stain and carefully wipe it onto the floor, following the grain direction. Remove any excess stain immediately with a clean cloth.
Drying Time
Patience is key after the stain application. Allow the first coat to dry completely before applying subsequent coats. The exact drying time varies depending on the type of stain and the ambient temperature and humidity. Follow the manufacturer’s instructions for optimal drying times.
The Final Touches: Sealing and Protecting Your Hardwood Floors
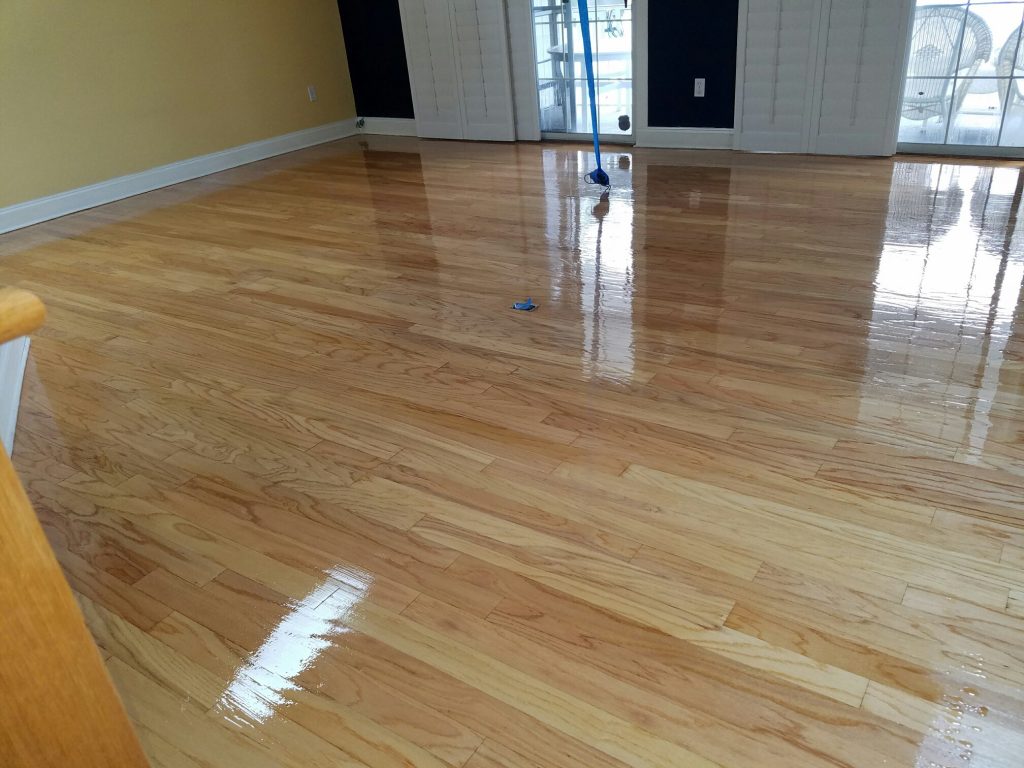
Once the stain is fully dry, it’s time to seal your hardwood floors. The seal acts as a protective barrier against moisture, dirt, and scratches, ensuring the beauty of your stained floors lasts for years.
Types of Sealants
There are various types of sealants available, each with its own advantages:
- **Polyurethane:** A durable and long-lasting option. Available in matte, semi-gloss, and gloss finishes. It offers excellent protection against scratches and wear.
- **Lacquer:** Provides a hard, scratch-resistant finish with a high gloss. Offers a very protective layer.
- **Oil-based Polyurethane:** Offers a warm, traditional look, and good protection against water damage.
- **Water-based Polyurethane:** A less smelly option with a faster drying time. Offers good durability and a more environmentally friendly choice compared to oil-based options.
Applying the Sealant
Sealant application is similar to stain application. You can use a brush, cloth, or even a roller. Follow the manufacturer’s instructions for drying times and application techniques.
How Many Coats is Right for You?
Now that you understand the fundamentals of staining and sealing, let’s address the ultimate question: how many coats of stain do you actually need? There’s no universal answer, but here’s a general guideline to get you started:
- **One Coat:** Good for a subtle color shift or to preserve the natural wood color with a hint of warmth. Ideal for lighter-colored woods like maple or pine.
- **Two Coats:** Your go-to for achieving a richer, more even color. Effective for medium-toned woods like hickory or cherry, allowing you to create a more dramatic look.
- **Three or More Coats:** Recommended for achieving a very dark finish, covering existing stain, or creating a high-contrast look, especially on darker woods like walnut.
Remember, it’s always a good idea to experiment with a small, inconspicuous area before fully committing to staining your entire floor. This lets you see how the stain looks with various coats and helps you refine your plan for achieving the ideal finish.
How Many Coats Of Stain On Hardwood Floors
Conclusion
The number of stain coats you apply can be the difference between a subtle enhancement and a bold transformation. From understanding the factors that influence the final color to selecting the right stain and sealing techniques, we’ve equipped you with the knowledge to create stunning hardwood floors. Now, embark on your project with confidence and embrace the process of bringing your dream floors to life.


