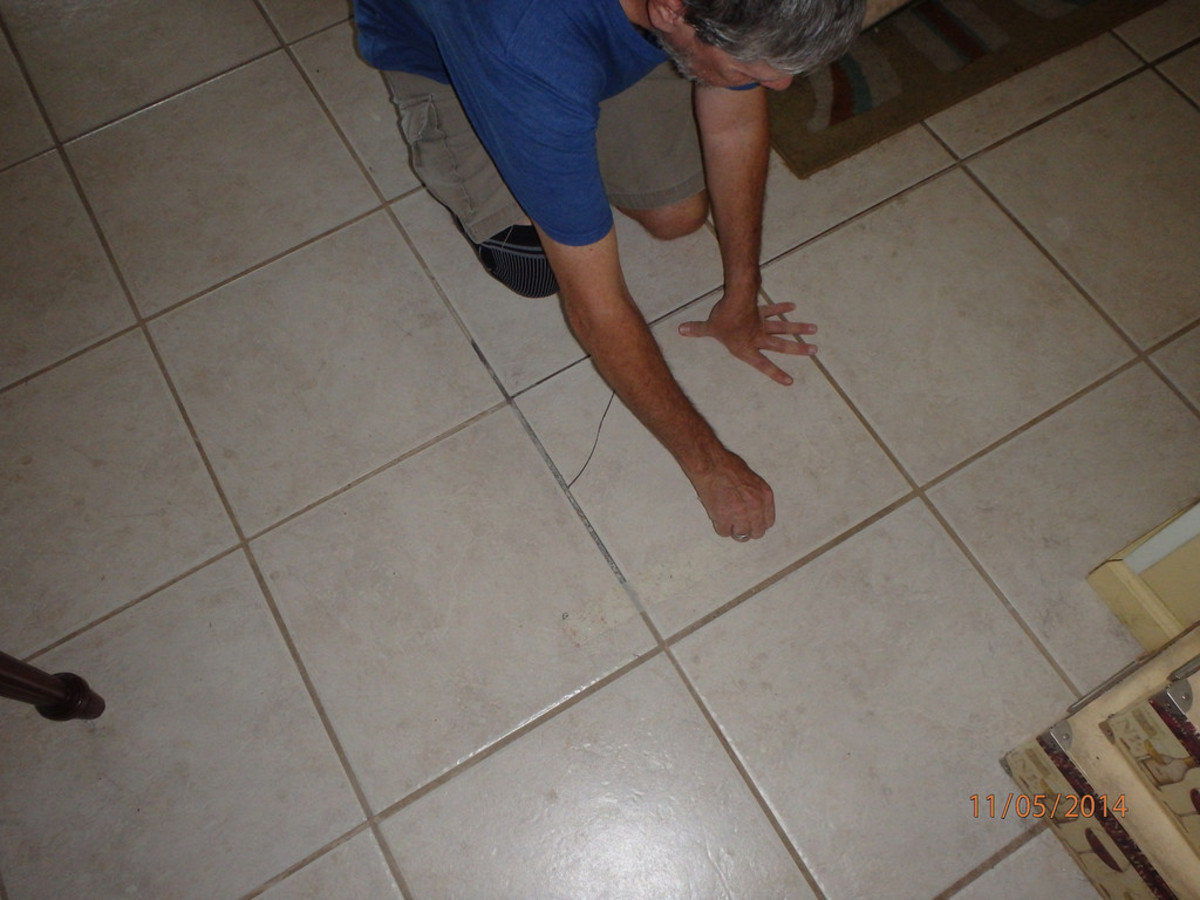
Imagine this: you’re walking through your home, enjoying a cup of coffee, when suddenly, CRUNCH. Your foot meets a broken floor tile, sending a sharp shard flying. You’re left with a chipped tile, a potential tripping hazard, and a feeling of frustration. But don’t fret! Replacing a broken floor tile is a surprisingly achievable DIY project, and with this guide, you’ll be able to restore your floor to its former glory.

Image: dengarden.com
Replacing a broken floor tile is a common home repair that anyone can tackle with the right tools and guidance. This simple project can boost your home’s aesthetics and prevent potential accidents, making it a worthwhile investment of your time and effort.
Getting Started
Before you dive into the replacement process, you’ll need to gather the necessary tools and materials. Here’s what you’ll need:
- New tile: Make sure to choose a tile that closely matches the existing ones for a seamless look. Remember to consider both color and size to ensure a perfect fit.
- Tile adhesive: This helps secure the new tile in place.
- Grout: This fills the gaps between tiles and adds a decorative touch.
- Mortar or grout float: For spreading the tile adhesive and grout.
- Grout sponge: For cleaning up excess grout.
- Bucket: For mixing the grout and cleaning.
- Utility knife: For cutting and shaping grout.
- Rubber mallet: For tapping the tile into place.
- Safety goggles: Protect your eyes from flying debris.
- Work gloves: For handling the tile and grout safely.
- Measuring tape: For measuring the size of your broken tile.
- Level: Ensures a smooth and even installation.
- Chisel and hammer: For removing the broken tile.
Step-by-Step Guide to Replacing a Broken Floor Tile
Now that you’ve gathered your tools, we’re ready to embark on the replacement process. Follow these steps carefully:
Step 1: Prepare the Area
Clear the area around the broken tile of any furniture or obstacles. You’ll need ample space to work comfortably.

Image: www.diydoctor.org.uk
Step 2: Remove the Broken Tile
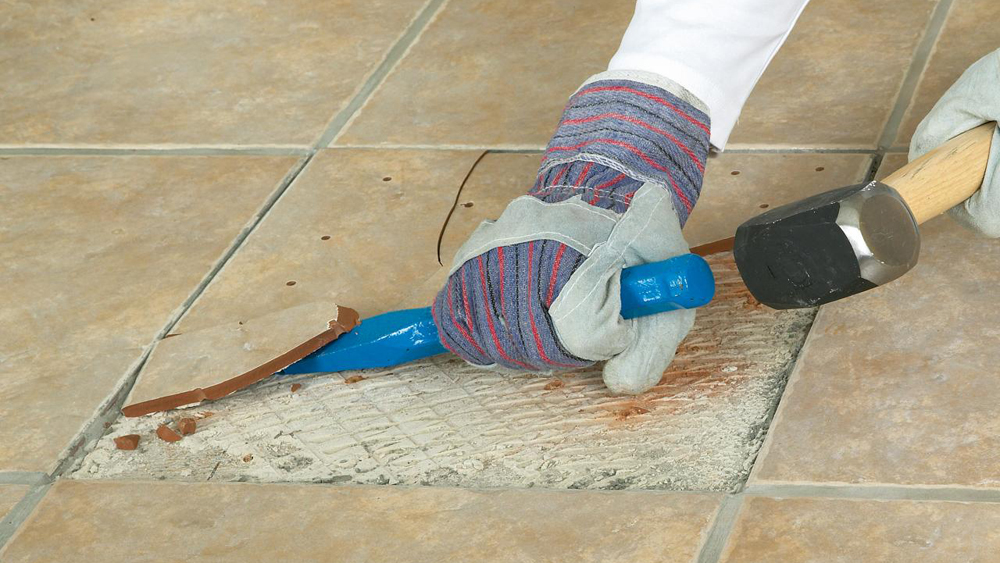
Use a chisel and hammer to gently chip away at the broken tile, starting from the edges and working towards the center. Once the tile is loosened, you should be able to pry it up with a pry bar or your chisel. Be careful not to damage the surrounding tiles!
Step 3: Clean the Area
Remove any remaining adhesive or grout residue from the area where the tile was removed. Use a scraper or putty knife to loosen any stubborn residue, and a vacuum cleaner to pick up any debris.
Step 4: Apply Adhesive
Using your mortar float, spread a thin layer of tile adhesive onto the area where the new tile will go. The adhesive should cover the entire area, but be careful not to build up too much on the edges. Avoid getting any adhesive on the surrounding tiles.
Step 5: Position the New Tile
Place the new tile into the adhesive, pressing down firmly to ensure it is properly secured. Use a rubber mallet to tap gently on the tile until it is level with the surrounding tiles.
Step 6: Allow the Adhesive to Dry
Let the adhesive dry completely according to the manufacturer’s instructions. This step is crucial for ensuring that the newly installed tile is properly bonded.
Step 7: Grout the Tile
Mix your grout according to the manufacturer’s instructions, ensuring the consistency is smooth and spreadable. Using a grout float, fill in the gaps between the new tile and surrounding tiles. Make sure to remove any excess grout with a damp sponge, working in a diagonal motion to prevent smearing.
Step 8: Clean the Tile
After the grout has set for a few hours, thoroughly clean the tiles with a damp sponge to remove any remaining grout haze. You may need to repeat this process several times to remove all residue and achieve a clean finish.
Step 9: Finish and Maintenance
Once the grout has fully dried and hardened, your tile replacement is complete! Enjoy your freshly repaired floor. To maintain your tiles, follow these tips:
- Regularly clean spills or stains to prevent grout discoloration.
- Use a tile-specific cleaner and avoid harsh chemicals.
- Keep heavy objects off the newly installed tile until the grout is completely cured.
Expert Tips and Tricks
Here are a few expert tips to enhance your tile replacement process and ensure a successful outcome:
- Choose the right adhesive: For ceramic or porcelain tiles, choose a latex-modified adhesive for added flexibility and durability.
- Ensure a level surface: Before applying adhesive, use a level to make sure the surface is flat and level. This will prevent uneven tiles.
- Use a tile spacer: For a consistent grout gap, use tile spacers between the tiles during the installation process.
- Clean up grout mistakes immediately: If you drop grout on your tile, use a damp sponge to wipe it up immediately.
How To Replace A Broken Floor Tile
Conclusion
Replacing a broken floor tile is a project that anyone can tackle with the right information and preparation. By following these steps and incorporating the expert tips provided, you can restore your floor to its former glory. Not only will you be saving money by doing it yourself, but you’ll also gain a sense of accomplishment and satisfaction from completing this DIY project successfully. So, grab your tools, and get ready to tackle that broken tile with confidence!


