Have you ever looked at your worn-out flooring and thought, “It’s time for a change!”? The possibilities seem endless: hardwood, tile, laminate, carpet – the choices are exciting! But before you dive headfirst into the world of flooring, there’s one crucial step you need to master: measuring your room. Don’t worry, it’s not as intimidating as it sounds.

Image: luxwoodfloors.com
Measuring your room precisely is vital for two main reasons: First, it ensures you buy the right amount of flooring, avoiding both costly shortages and unnecessary waste. Second, accurate measurements help you plan the layout of your flooring, making sure everything lines up perfectly and avoids awkward gaps or cuts. This guide will equip you with the knowledge and tools you need to conquer the task of measuring your room, confidently paving the way for a beautiful new floor.
Gather Your Tools
Before you start measuring, grab the following essential items, which will make the process smoother and more accurate:
- Measuring tape: A standard 25-foot tape measure will work for most rooms.
- Notebook and pen: To jot down your measurements and notes.
- Calculator: Handy for adding up areas and making quick calculations.
- Floor plan (optional): If you have a floor plan handy, it can provide a great visual reference for your measurements.
Prepping Your Space
Now that you’ve gathered your tools, it’s time to prepare your space for a smooth measuring experience. Here’s what to do:
- Clear the space: Move furniture, rugs, and any obstacles that might interfere with your measurements.
- Mark any irregularities: If your room has any unusual shapes, like a bay window or alcove, mark them clearly on the floor.
- Check for level: Ensure the floor is relatively level. If there are significant dips or bumps, consider marking them for later calculations.
Measuring Your Room
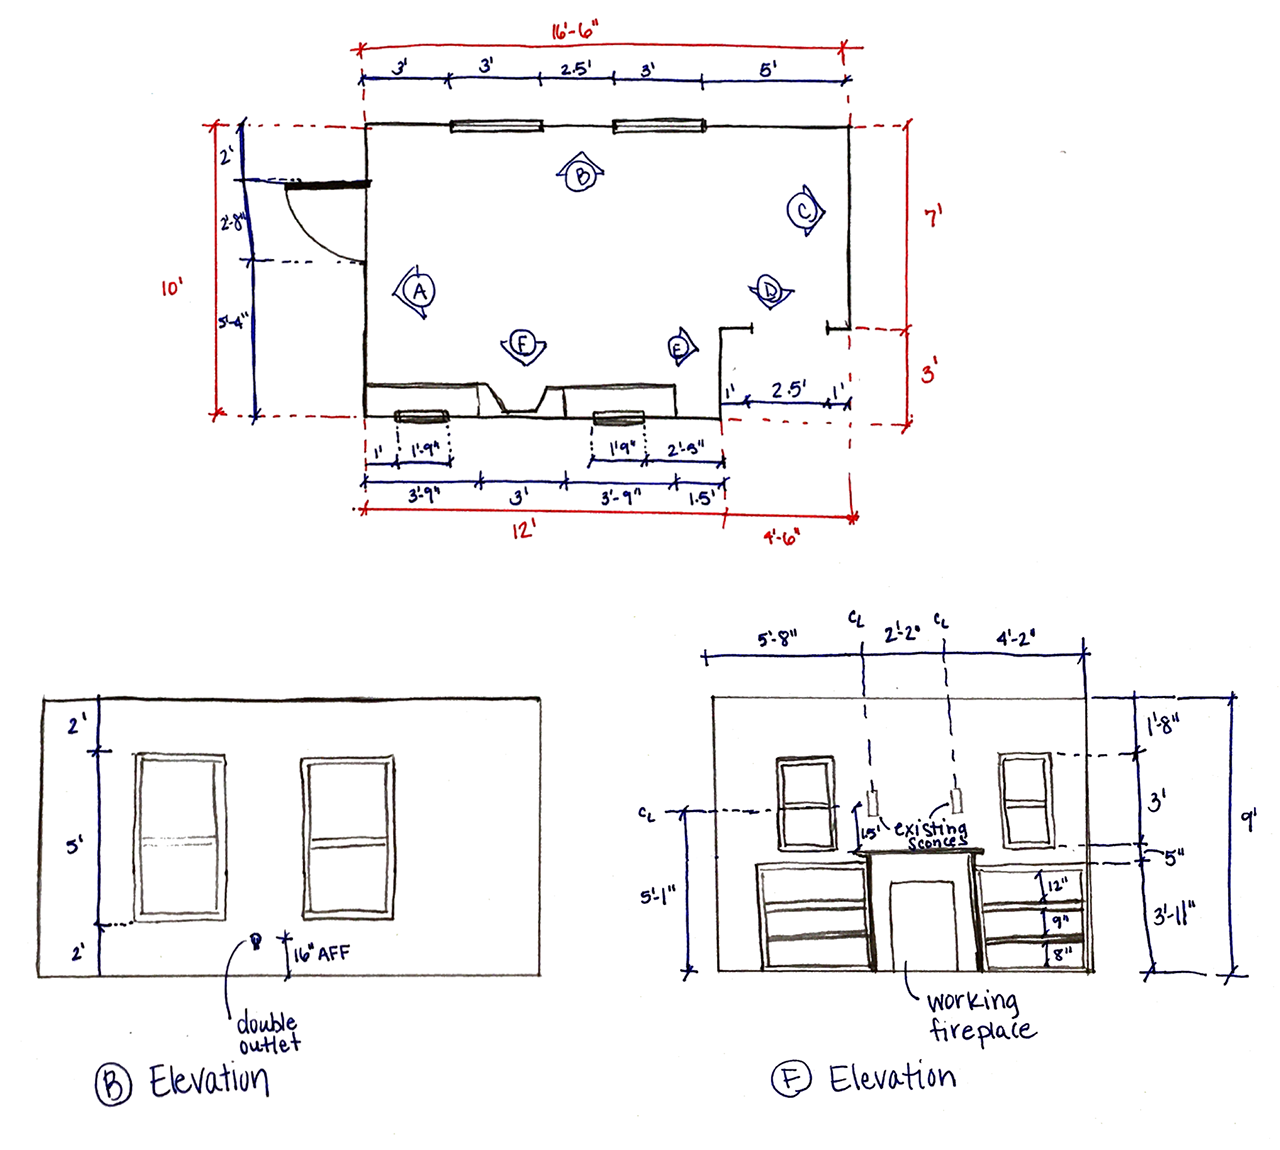
Now, let’s get down to the nitty-gritty of measuring. The most common way is to measure the length and width of the room, then calculate the area. However, there are some nuanced considerations depending on the shape of your room. Let’s explore these different scenarios:

Image: www.vrogue.co
Rectangular or Square Rooms
This is the simplest scenario. Follow these steps:
- Measure the length: Find the longest wall of the room and measure its length from one end to the other. Record the measurement in feet and inches.
- Measure the width: Find the shortest wall of the room and measure its width from one end to the other. Record the measurement in feet and inches.
- Calculate the area: Multiply the length by the width to get the area of the room. For example, if the length is 12 feet and the width is 10 feet, the area is 120 square feet (12 feet x 10 feet = 120 square feet).
Irregularly Shaped Rooms
Don’t fret if your room isn’t perfectly square or rectangular! The same basic principles apply, but with a few extra steps. Here’s how to measure an irregularly shaped room:
- Divide the room into simple shapes: Break the room down into smaller, more manageable shapes like rectangles, squares, and triangles.
- Measure the dimensions of each shape: Follow the same steps as for rectangular rooms, measuring the length and width of each smaller shape.
- Calculate the area of each shape: Find the area of each smaller shape using the length and width measurements, as explained earlier.
- Add up the areas: Sum the areas of all the smaller shapes to get the total area of the irregularly shaped room.
Rooms with Odd Features
If your room has features like closets, alcoves, or bay windows, you’ll need to account for these in your measurements and calculations. Here’s how:
- Measure the area of the odd feature: Measure the length and width of the feature (like a closet or alcove). Multiply those measurements to calculate the feature’s area.
- Subtract the feature’s area from the total area: Subtract the area of the feature from the total area of the room to arrive at the area you’ll need flooring for.
Understanding Flooring Waste and Overages
When purchasing flooring, it’s important to account for waste, which is the amount of flooring that will be unusable due to cuts, miscalculations, or damaged pieces. A general rule of thumb is to add 10% to your calculated area for waste if the flooring requires cuts (like tile or hardwood), and 5% for flooring that doesn’t (like carpet or sheet vinyl).
If you have a high amount of complex cuts, irregular shapes, or multiple transitions, you might want to consider adding up to 15% for waste. This padding ensures you have enough flooring to complete the project without running out!
Verifying and Finalizing Your Measurements
Just like a good chef always tastes their dish, it’s a good idea to double-check your measurements. Here’s how:
- Review your notes: Carefully look over your measurements and calculations to make sure they add up correctly.
- Double-measure: Take a second look at your most critical measurements, especially if you have any doubts.
- Consult a professional: If you’re feeling unsure about any of your measurements, consider consulting a professional flooring installer. They can provide expert advice and ensure you have the right amount of flooring for your needs.
How To Measure A Room For Flooring
Ready for Flooring Fun!
Congratulations! You’ve successfully measured your room, and you’re now one step closer to a fabulous new floor. Remember, accurate measurements are essential for a smooth flooring installation, preventing frustration and ensuring you have a beautiful new floor that you’ll enjoy for years to come.
Get ready to choose your favorite flooring style, explore different colors and textures, and prepare to transform your space with a fresh and inviting new floor.


