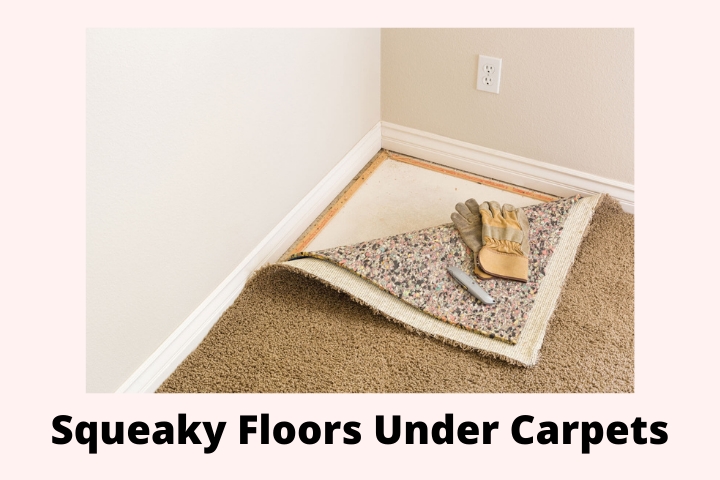
Have you ever walked across your carpeted floor, only to be met with the dreaded squeak? Those annoying noises can be a constant source of frustration, especially when trying to create a peaceful and harmonious home environment. The good news is that fixing squeaky floors under carpet is a common DIY project that doesn’t require a ton of specialized tools or expertise.

Image: floorcritics.com
Squeaky floors occur when the subfloor boards beneath your carpet have loosened or shifted, causing friction and rubbing against each other. This movement, often amplified with changes in temperature or humidity, creates the familiar, irritating sound. This article will guide you through the process of identifying the source of the squeak and then walk you through the various methods to silence those noisy floors.
Understanding the Squeak
Identifying the Source
Before you grab your tools, it’s essential to pinpoint the exact location of the squeaking. Walk across the carpeted area, carefully listening for the noise. Pay attention to where the squeak is loudest and most consistent. This will help you determine which subfloor boards are responsible for the noise.
The Causes of Squeaky Floors
Here are some common reasons why your floors might be squeaking:
- Loose Floorboards: As houses settle, the nails or screws holding the subfloor boards together can loosen, causing them to flex and rub against each other.
- Shifting Subfloor: Over time, the subfloor boards can shift, creating gaps that lead to friction and squeaking.
- Insufficient Support: A lack of support beams or inadequate joist spacing can lead to subfloor movement and squeaking.
- Structural Issues: In severe cases, structural problems like foundation settling can generate squeaking sounds.

Image: www.housesumo.com
The Tools and Supplies You’ll Need
Having the right tools at hand will make your repair process much smoother.
- Screwdriver: Choose a screwdriver that fits the screw heads holding the subfloor boards.
- Hammer: You’ll need a hammer to drive screws or nails.
- Wood Screws: Use screws that are longer and thicker than the existing fasteners.
- Wood Glue: This helps to strengthen the bond between the subfloor boards.
- Shims: These thin pieces of wood will help you level out uneven areas in your subfloor.
- Knee Pads: Working on your knees will save your joints.
- Safety Glasses: Protect your eyes from flying debris.
Step-by-Step Guide to Fix Squeaky Floors
Step 1: Locate the Squeak
Identify the exact location where the squeaky floor is most pronounced. This will help you focus your efforts and ensure the most effective fix.
Step 2: Lift the Carpet and Pad
Be careful when lifting your carpet and pad. If possible, lift only the section of carpet nearest to the squeaking noise. This reduces the area you may need to re-stretch and reduces the risk of damaging the carpet itself.
Step 3: Find the Problem Area
Look for visible gaps, loose nails or screws, or any obvious movement in the subfloor boards. This will help you determine the specific cause of the squeaking.
Step 4: Apply Wood Glue (Optional)
For loose or shifting boards, applying a thin layer of wood glue to the joint will further strengthen the bond and reduce squeaking.
Step 5: Drive in New Screws or Nails
Using your hammer and screwdriver, drive new screws or nails into the subfloor boards, making sure to reinforce existing fasteners. Drive them at a slight angle for extra hold.
Step 6: Re-level the Subfloor (If Necessary)
If you notice any noticeable gaps or unevenness in the subfloor, use shims to level out the affected area. This ensures a smooth and consistent floor surface.
Step 7: Replace Carpet and Pad
Carefully put the carpet and pad back in place. Use a carpet stretcher to pull the carpet taut and secure it with tack strips.
Step 8: Test the Repair
Walk across the repaired area to confirm the squeak has been eliminated. If you still hear a squeak, you may need to repeat the process by driving in more screws or nails, using shims, or even using a different fixing method.
Additional Tips for a Successful Fix
- Consider Subfloor Support: If the squeaking seems widespread or persists, it may indicate a lack of sufficient subfloor support. Contact a structural engineer or a qualified contractor for a professional assessment.
- Use a Drill: If you have access to a power drill, you can speed up the process of driving screws.
- Cover Nail Heads: Once you’ve secured the subfloor boards, you can cover the nail or screw heads with wood putty to create a smooth surface before laying down the carpet and pad.
- Pre-drill Holes: Pre-drilling holes in the subfloor boards can help to reduce the risk of splitting the wood while you drive in screws.
- Use Heavy-Duty Screws: For extremely stubborn squeaks or areas that experience high foot traffic, consider using heavy-duty screws specifically designed for subfloor repair.
How To Fix Squeaky Floors Under Carpet
Conclusion
Fixing squeaky floors under carpets is a relatively straightforward process that can be done by most DIY enthusiasts. By following these steps, you can eliminate those distracting noises and create a more peaceful and pleasant home environment. Don’t hesitate to get help from a professional contractor if the problem seems too extensive or if you’re unsure about the steps involved. Remember, a quiet home is a happy home!


