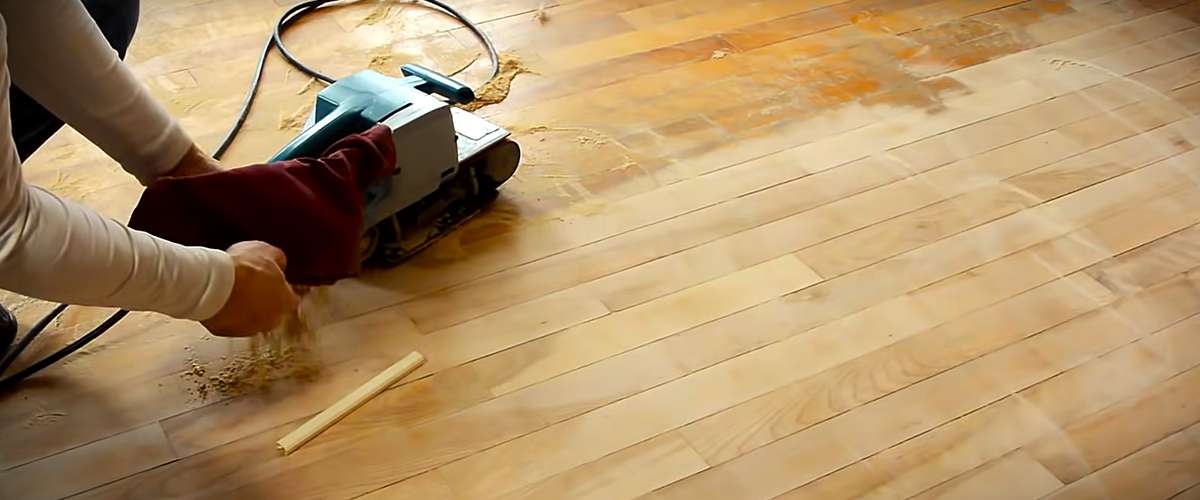
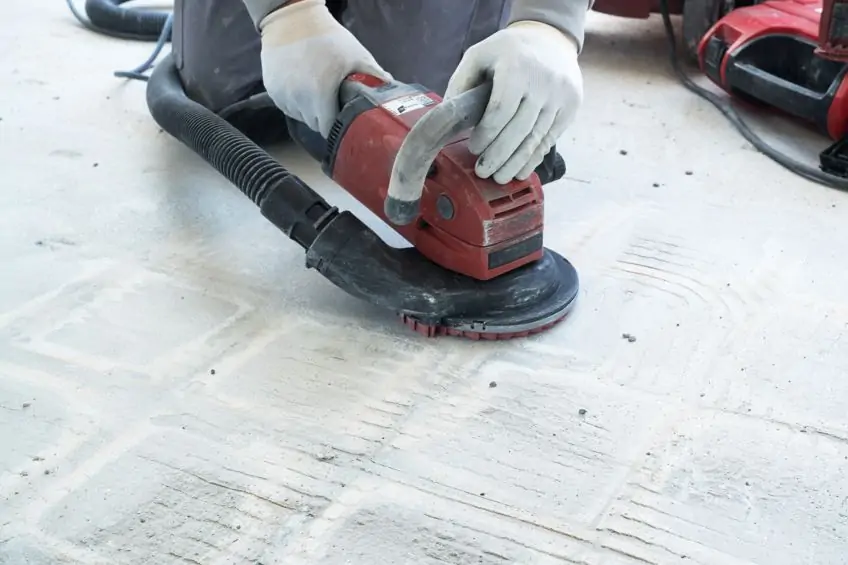
Have you ever gazed at a worn, scratched hardwood floor and dreamt of restoring it to its former glory? Perhaps you envision a fresh, smooth surface that radiates warmth and character. Sanding a floor by hand can seem like a daunting task, but it’s actually a doable project for determined DIYers. This article will explore the why, how, and what to watch out for when embarking on this rewarding endeavor.

Image: mromavolley.com
While power sanders offer speed and efficiency, hand sanding can be a fulfilling and sometimes necessary option. Maybe you’re working in a small, confined space where a power sander is impractical. Or, you might be tackling a delicate antique floor that requires extra care. And let’s not forget the satisfaction of achieving a stunning result through pure grit and craftsmanship.
The Anatomy of a Hand-Sanded Floor
Tools of the Trade
Before we delve into the steps, let’s get acquainted with the tools that make hand-sanding possible. You’ll need:
- Sandpaper: This comes in various grits, each playing a specific role in smoothing the floor. A typical sequence involves coarse grits (like 40 or 60) for removing heavy scratches, followed by progressively finer grits (like 80, 120, and 150) to level the surface. You may need even finer grits (220 or 400) for the final polishing stage.
- Sanding Block: This is a simple but crucial tool. It’s essentially a flat piece of wood with a rough surface that grips the sandpaper. Sanding blocks come in various sizes, so choose one that’s comfortable to hold and maneuver.
- Dust Mask: Safety first! Sanding generates dust, so a dust mask is essential to protect your lungs.
- Gloves: To safeguard your hands from blisters and irritation, wear gloves. Look for breathable material that allows for good dexterity.
- Knee Pads: While kneeling can be strenuous, it’s often necessary for thorough sanding, so invest in knee pads for cushion and support.
The Process Unveiled
Hand sanding a floor requires a methodical approach. The key is to work in sections, moving in a consistent direction using long, even strokes. Here’s a breakdown:
- Preparation: Clear the room of furniture and any obstacles. Sweeping and vacuuming will remove loose dirt and debris.
- Coarse Sanding: Start with a coarse grit sandpaper and work in sections, overlapping each stroke by about half the width of the sanding block. Focus on removing deep scratches and unevenness.
- Intermediate Sanding: Once the floor is relatively smooth, switch to a finer grit sandpaper and repeat the process. This step refines the surface, eliminating any remaining imperfections.
- Fine Sanding: Use the finest grit sandpaper for a final polish. Smooth and even strokes are essential at this stage to achieve a consistent finish.
- Cleaning: Sweep or vacuum the floor thoroughly to remove sanding dust. Consider a damp cloth with a mild cleaner to wipe away any stubborn residue.
- Inspection: Examine the floor closely for any remaining imperfections or areas that need additional sanding.

Image: mromavolley.com
Considerations and Troubleshooting
Wood Species
Knowing your floor’s wood species can influence your sanding approach. Some woods, like maple, are relatively hard and resilient while others, like pine, are softer and more prone to scratching. Hardwood floors generally require more work due to their denser structure.
Finish
The type of finish on your floor also matters. Water-based finishes are typically easier to sand and refinish compared to oil-based finishes. If your floor has a thick layer of polyurethane, you might need to use a coarser grit sandpaper to remove it before applying a new finish.
Common Problems
While hand sanding can be rewarding, you should be aware of potential problems:
- Uneven sanding: If you don’t apply consistent pressure and stroke length, the floor will have an uneven finish. Take breaks and stretch your muscles to prevent fatigue, which can lead to inconsistencies.
- Dust buildup: The dust generated from sanding can clog sandpaper and make it less effective. Regularly clean your sandpaper or switch to a fresh one. Cleaning the floor often can also help prevent dust buildup.
- Over-sanding: This can weaken the floorboards, particularly if a floor is already thin or if you use overly coarse sandpaper. If you’re unsure, start with a finer grit and gradually work your way up.
Can You Sand A Floor By Hand
The Art of Hand Sanding
Hand sanding isn’t just a task; it’s a skill that takes patience, attention to detail, and the right tools. The satisfaction of transforming a worn floor into a beautiful and functional surface is hard to beat. It’s a reminder that sometimes, the most rewarding journeys are those traveled with a little elbow grease and a lot of heart.
As you navigate this journey, remember to respect the wood, take your time, and enjoy the process. And when you finally gaze upon your handiwork, you’ll have a floor that tells a story – a story of your dedication, perseverance, and the beauty of handcrafted restoration.


