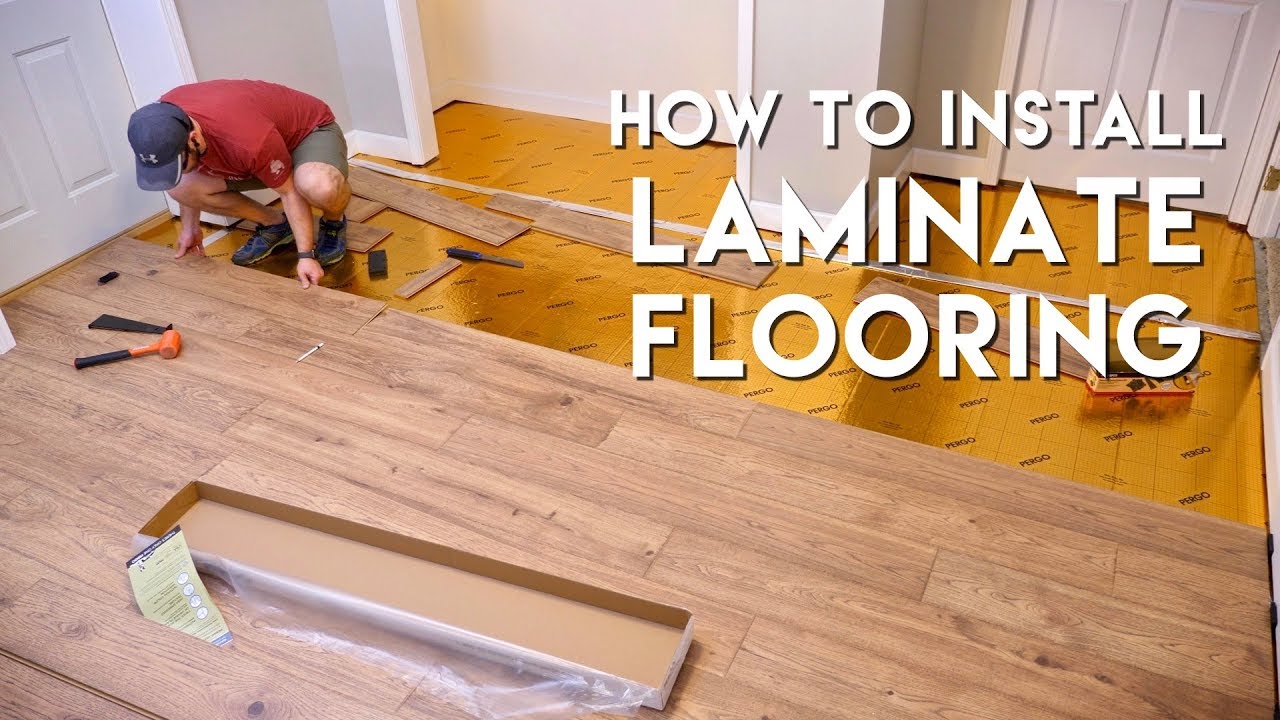
Imagine this: you’re walking across your living room, enjoying the warmth of the sun streaming through the window, when you suddenly hear a crack beneath your foot. You look down and see a chipped, broken laminate floor board, a testament to a dropped heavy object or a misplaced step. Now, a wave of worry washes over you – is this a DIY fix? Can you replace a laminate floor board yourself, or is it time to call in a professional? The answer, thankfully, is usually yes! You can definitely tackle this repair project with the right tools and a little know-how.

Image: www.bvg.co.in
This article will serve as your guide to understanding the process of replacing a damaged laminate floor board. We’ll explore the different types of laminate floors and discuss the tools you’ll need, provide step-by-step instructions, and offer tips for a successful DIY repair. From choosing the right replacement board to navigating the removal and installation procedures, you’ll feel confident in tackling this common home improvement project.
Understanding Laminate Flooring and Repair Options
Laminate flooring is a popular choice for homeowners due to its affordability, durability, and ease of maintenance. It consists of multiple layers pressed together, with the top layer featuring a photorealistic image of wood, stone, or other materials. The durability of laminate flooring makes it a good candidate for high-traffic areas, but even the strongest material can be susceptible to damage. Luckily, replacing a damaged laminate floor board is a relatively straightforward process that can be handled by a homeowner with basic DIY skills.
Before jumping into the repair, it’s important to understand the different types of laminate flooring. There are several interlocking systems, including click-lock, drop-down, and glue-down. The type of system installed in your home will determine the specific tools and techniques needed for replacement. Once you’ve identified the type of flooring you have, you’ll be ready to tackle the repair.
Tools for the Job: Gearing Up for Success
Replacing a laminate floor board requires a specific set of tools that will make the process easier and more efficient. Here is a list of essential tools you’ll need:
- A hammer: This is used to tap new boards into place, ensuring a secure fit.
- A pry bar: This will allow you to carefully lift and remove the damaged board without damaging the surrounding boards.
- A utility knife: This will help you cut the laminate flooring to size.
- A tape measure: This is essential for precise measurements to ensure the replacement board is the right size.
- A pencil: This will allow you to mark the laminate board for cutting.
- Safety glasses: Always wear safety glasses to protect your eyes from flying debris.
- Work gloves: To protect your hands while working with sharp tools.
- A small saw (optional): This will allow you to trim the replacement board if needed.
It’s always a good idea to have these tools on hand when you are dealing with laminate flooring, as they can be helpful for future projects as well!
Step-by-Step Guide to Replacing a Laminate Floor Board
Now, let’s get into the nitty-gritty of replacing your damaged laminate floor board. The following steps will guide you through the process, ensuring a smooth and successful repair:
- Prepare the area: Remove any furniture or obstacles from the area where you’ll be working to provide ample space and visibility.
- Locate the damaged board: Clearly identify the damaged laminate floor board that you need to replace.
- Remove the damaged board: Using your pry bar, carefully lift the damaged board starting from the end opposite the adjoining board. With gentle leverage, work your way along the board, prying it up gradually.
- Measure and cut the replacement board: Using your tape measure, carefully measure the length and width of the damaged board. Transfer these measurements to your replacement board, making sure the measurements are precise. Use a utility knife and a straightedge to carefully cut the board to size.
- Install the replacement board: Using the same interlocking system as your existing flooring (click-lock, drop-down, or glue-down), insert the new board into position. Use a hammer to gently tap it into place, ensuring a secure and level fit.
- Clean up and admire: Once the replacement board is installed, vacuum up any debris and admire your handiwork!

Image: sayenscrochet.com
Expert Insights and Insider Tips
- When selecting a replacement board, strive for the closest color and finish match to the existing flooring. Check the lot number on the damaged board to help you find a matching replacement.
- If the replacement board is slightly too long, you might have to trim it. Use a small handheld saw for accurate trimming.
- Before hammering in the new board, make sure it’s aligned correctly with the surrounding boards.
- If your laminate flooring is a click-lock type, be careful not to damage the nearby boards while prying out the damaged one.
- If you’re using glue-down laminate, make sure the glue is dry before placing heavy furniture on the new floorboard.
Can You Replace A Laminate Floor Board
Conclusion: A Successful Repair
With the right tools and a little patience, replacing a damaged laminate floor board is a DIY task that even novice homeowners can accomplish. By following the steps outlined in this guide and using the expert tips provided, you can ensure a smooth and successful repair, restoring your floor to its former glory. So, instead of panicking over a broken board, approach the problem with confidence! Remember, even small DIY victories can significantly boost your home’s aesthetics and your sense of accomplishment.


