My kitchen floor had seen better days. The linoleum was cracked, faded, and frankly, just plain ugly. I yearned for a fresh, modern look, but I knew a complete floor replacement would be a major undertaking. Then, I stumbled upon the idea of vinyl tile. It seemed like the perfect solution – affordable, easy to install, and surprisingly durable. But a question arose: could I lay this new flooring over my existing concrete subfloor? It was a question that lingered in my mind until I delved into the world of flooring. The answer, as you’ll soon discover, is a resounding yes, but with some crucial considerations.

Image: cinvex.us
Laying vinyl tile on a concrete floor is often the perfect solution for a budget-friendly and stylish floor upgrade. When done correctly, it can deliver a long-lasting, attractive look to any space. But as with any home improvement project, there are key steps to ensure success. This guide will walk you through everything you need to know about installing vinyl tile over concrete, from preparing the surface to selecting the right adhesive and ensuring a smooth, even finish.
Preparing the Concrete Subfloor: The Foundation for a Successful Installation
The success of your vinyl tile installation hinges on a perfectly prepared concrete subfloor. Even minor imperfections can translate into uneven tile placement and potential future issues. Think of it like baking a cake; if the foundation is flawed, the entire structure can crumble. Here’s a detailed breakdown of the preparation process:
1. Cleaning the Concrete: Before you even think about laying down vinyl tile, you need a clean canvas. This means sweeping away dirt, debris, and anything else that could interfere with the adhesive. If the concrete is greasy or oily, use a degreaser to make sure the surface is truly clean.
2. Patching and Smoothing: Any cracks, bumps, or uneven areas in the concrete need to be addressed. For small cracks, patching compound can do the trick. For larger holes or unevenness, concrete patching mortar might be necessary. Let these repairs cure completely before moving on.
3. Leveling the Surface: A smooth, even concrete floor is essential for a seamless vinyl tile installation. Self-leveling concrete is a great way to achieve this. It fills in crevices and levels out minor imperfections, creating a perfect base for your new flooring.
Choosing the Right Adhesive: Bonding Vinyl Tile to Concrete
Once your concrete subfloor is prepped, it’s time to select the adhesive that’s perfect for your project. Different types of vinyl tile require specific adhesives, and the wrong choice can lead to peeling or lifting. Here’s a quick guide:
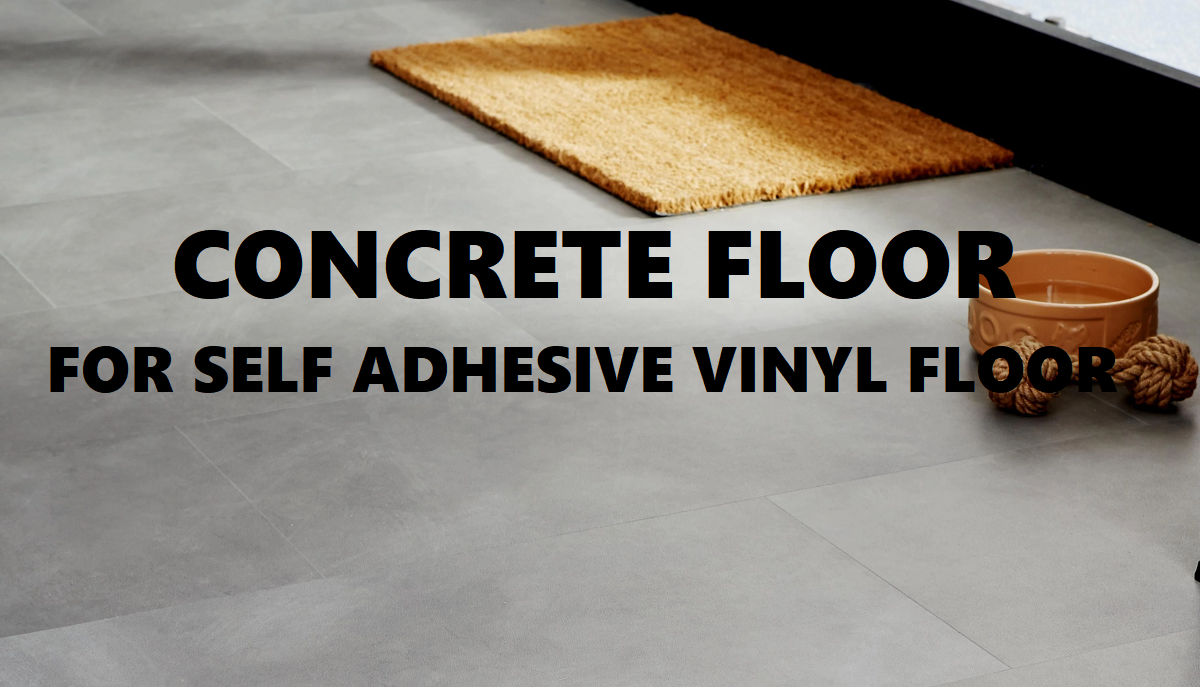
1. Self-Adhesive Vinyl Tiles: These tiles have a peel-and-stick adhesive backing, making them ideal for DIY projects. They are usually thinner and require a smooth, even surface for optimal adhesion.
2. Loose-Lay Vinyl Tiles: These tiles don’t require adhesive. They are placed on a cushioned underlayment that acts as both a moisture barrier and a buffer against unevenness in the subfloor. They are perfect for areas with minor imperfections, as they offer more flexibility in installation.
3. Traditional Vinyl Tiles: These tiles require a dedicated adhesive that is spread onto the concrete subfloor. The type of adhesive depends on the size and thickness of the tile. Look for a high-quality, moisture-resistant adhesive specifically designed for vinyl tile on concrete.
Laying the Vinyl Tile: Techniques for a Perfect Finish
Now comes the fun part – laying down your vinyl tile. When done properly, it can provide a striking update to your space. Whether you opt for a traditional adhesive or a click-and-lock system, there are some key tips to ensure a successful installation:
1. Start in the Middle: Begin laying the first rows of vinyl tiles in the center of the room and work your way outwards. This helps ensure the tile pattern is symmetrical.
2. Acclimate the Tiles: A crucial step often overlooked. Allow the vinyl tiles to adjust to the room temperature for a few days before installation. This helps prevent expansion and contraction issues as the room temperature fluctuates.
3. Use a Spacer: If you’re using traditional adhesive, spacers will ensure uniform spacing between the tile rows, creating a consistent, visually appealing pattern.
4. Secure the Edging: Depending on the type of vinyl tile you choose, you may need to use specialized trim pieces to finish the edges, minimizing the risk of peeling or lifting.

Image: steamcleanvinylflooring.blogspot.com
Trend Alert: The Rise of Luxury Vinyl Plank Flooring
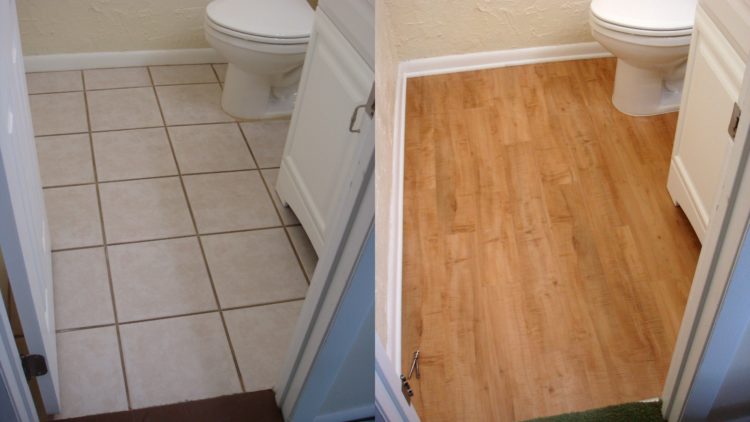
Vinyl flooring has evolved, and luxury vinyl plank (LVP) flooring is taking the world of home improvement by storm. These planks offer a realistic wood-look appearance, enhanced durability, and a water-resistant, scratch-resistant surface. They are an excellent choice for busy households, particularly those with pets or children.
In recent years, LVP has become increasingly popular, largely due to its versatility and affordability. It’s available in a wide range of designs, colors, and textures, mimicking the appearance of wood, stone, and even tile. This versatility allows you to create a unique look for your home, whether you’re aiming for a rustic farmhouse feel, a sleek modern aesthetic, or a timeless classic style.
Expert Tips for a Successful Vinyl Tile Installation
Based on my own experiences, and from consulting with professional flooring installers, here are some valuable tips for success:
1. Consult a Professional: If you’re unsure about any aspect of the installation, don’t hesitate to consult a professional flooring installer. They can provide guidance on selecting the correct materials, navigating difficult areas, and ensuring a high-quality finish.
2. Measure Twice, Cut Once: Precision is key when working with vinyl tile. Carefully measure the area you’ll be covering and double-check your measurements before making any cuts.
3. Use the Right Tools: Choose the appropriate tools for your project. A sharp utility knife or a circular saw (if necessary) will help you make clean cuts.
4. Allow for Curing: Once the vinyl tile is installed, allow the adhesive to fully cure before applying any furniture or heavy loads. This ensures a strong bond and prevents premature damage.
FAQs About Vinyl Tile Installation on Concrete
Q: Is it necessary to completely remove existing flooring before installing vinyl tile?
A: It depends on the existing flooring. If it’s in good condition and flat, you can lay vinyl tile over it. However, if it’s damaged, uneven, or has a thick layer of adhesive, it’s best to remove it before installation.
Q: How important is proper ventilation during and after installation?
A: Ventilation is crucial. It helps to eliminate moisture, allowing the adhesive to cure properly and minimizing the risk of mold growth.
Q: Are there any specific moisture control measures I should undertake?
A: Yes, it’s vital to address moisture issues. Install a moisture barrier between the concrete subfloor and the vinyl tile. This barrier prevents moisture from seeping through and damaging your new flooring.
Q: How do I ensure a seamless look, particularly around corners and edges?
A: Use transition pieces or quarter-round molding to create a smooth transition between the vinyl flooring and other surfaces like walls, carpets, or other types of flooring.
Q: What about maintenance? What’s the best way to keep my vinyl tile floor looking its best?
A: Vinyl tile is generally low-maintenance. Regular sweeping and mopping with a damp cloth and mild cleaning solution will help keep your floor clean and shining. Avoid harsh chemicals or abrasive cleaners that could damage the surface.
Can You Put Vinyl Tile On Concrete Floor
Conclusion: Making Your Home Beautiful with Vinyl Tile on Concrete
Installing vinyl tile over concrete can be a rewarding home improvement project. It combines affordability, durability, and a wide range of design options, allowing you to transform your space with ease. By carefully preparing the subfloor, selecting the right materials, and following the steps outlined above, you can create a stunning, long-lasting flooring solution.
Are you thinking about upgrading your floors with vinyl tile? We’d love to hear about your project! Let us know in the comments below what type of flooring you are considering and if you have any questions.


