Have you ever considered transforming your old wooden floors into a sleek and stylish tiled surface? The idea may seem daunting, but it’s actually a feasible and popular renovation project. Putting tiles over wooden floors can breathe new life into your space, offering a durable and visually appealing solution. But before you dive into this project, it’s crucial to understand the complexities involved. This comprehensive guide will delve into the feasibility, considerations, and steps involved in tiling over wooden floors.

Image: viewfloor.co
Whether you’re seeking a modern update, a more resilient surface, or simply a change of scenery, understanding the process of tiling over wood is essential. This guide will equip you with the knowledge to determine if this project is right for you, how to execute it successfully, and the potential challenges you might encounter along the way.
Understanding the Feasibility
The first question that arises is whether tiling over wooden floors is even possible. The answer, in most cases, is a resounding yes! However, the feasibility hinges on several factors, including the condition of your existing wooden floors, the type of wood, and the specific tile you choose.
Condition of the Subfloor
The most critical factor is the condition of your subfloor. If your wooden floor is severely warped, damaged, or rotten, it likely won’t provide a stable base for tiling. A solid, level subfloor is essential for successful tile installation.
Type of Wood
The type of wood also plays a role. Hardwoods, such as oak and maple, are generally more stable and durable than softer woods. If you have a softwood floor, it’s crucial to assess its structural integrity and ensure it can withstand the additional weight of the tile and mortar.

Image: www.whatisvinyl.com
Tile Choice
The type of tile you choose can also influence feasibility. Heavier tiles, like porcelain or natural stone, require a stronger subfloor to prevent cracking or sagging. Lighter tiles, such as ceramic or glass, may be a more viable option for less stable subfloors.
Assessing Your Existing Floor
Before embarking on tiling over your wooden floors, conduct a thorough assessment. Look for signs of damage, including:
- Warping or cupping: This indicates moisture problems or a subfloor that is not level.
- Squeaking or creaking: This suggests loose floorboards or inadequate subfloor support.
- Soft spots: These may indicate rot or decay under the floorboards.
- Cracks or gaps: This could indicate structural issues or inadequate subfloor support.
If you discover any significant damage, you’ll need to address these issues before proceeding with tiling.
Preparing the Subfloor for Tiling
Once you’ve determined your subfloor is sound and level, you need to prepare it for tiling. This process might involve several steps, depending on the condition of your existing floor:
1. Removing Finishing Touches
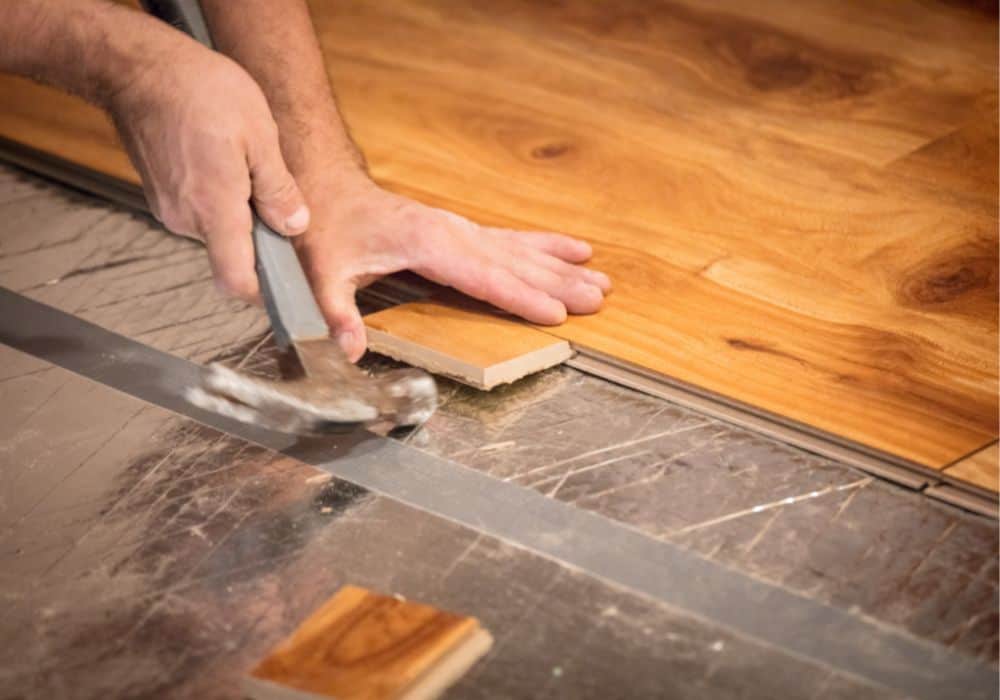
Start by removing any existing finishes, such as varnish, paint, or sealant from the wooden floor. Sanding is often the most efficient method for removing these finishes. Be sure to wear a respirator mask and eye protection during sanding to avoid inhaling dust particles.
2. Leveling
Many wooden floors are not perfectly level. If yours have slight imperfections, you can use a leveling compound to create a flat and smooth surface for the tiles. Apply the compound according to the manufacturer’s instructions, ensuring it’s completely dry before proceeding.
3. Adding a Moisture Barrier
To prevent moisture damage from rising up from the subfloor, apply a moisture barrier over the existing floor. This is especially important in areas prone to moisture, such as bathrooms or kitchens. Common materials for moisture barriers include a polyethylene sheet or a layer of “red guard” cement-based waterproofing.
Tiling Over Wooden Floors: Step-by-Step
With the subfloor prepared, you can now begin the tiling process. Here’s a step-by-step guide:
1. Setting a Starting Point
Choose a starting point for your tile layout. You may prefer to start in the center of the room to create a symmetrical design. Use a chalk line to mark the first row of tiles, ensuring it’s straight and level.
2. Applying Mortar
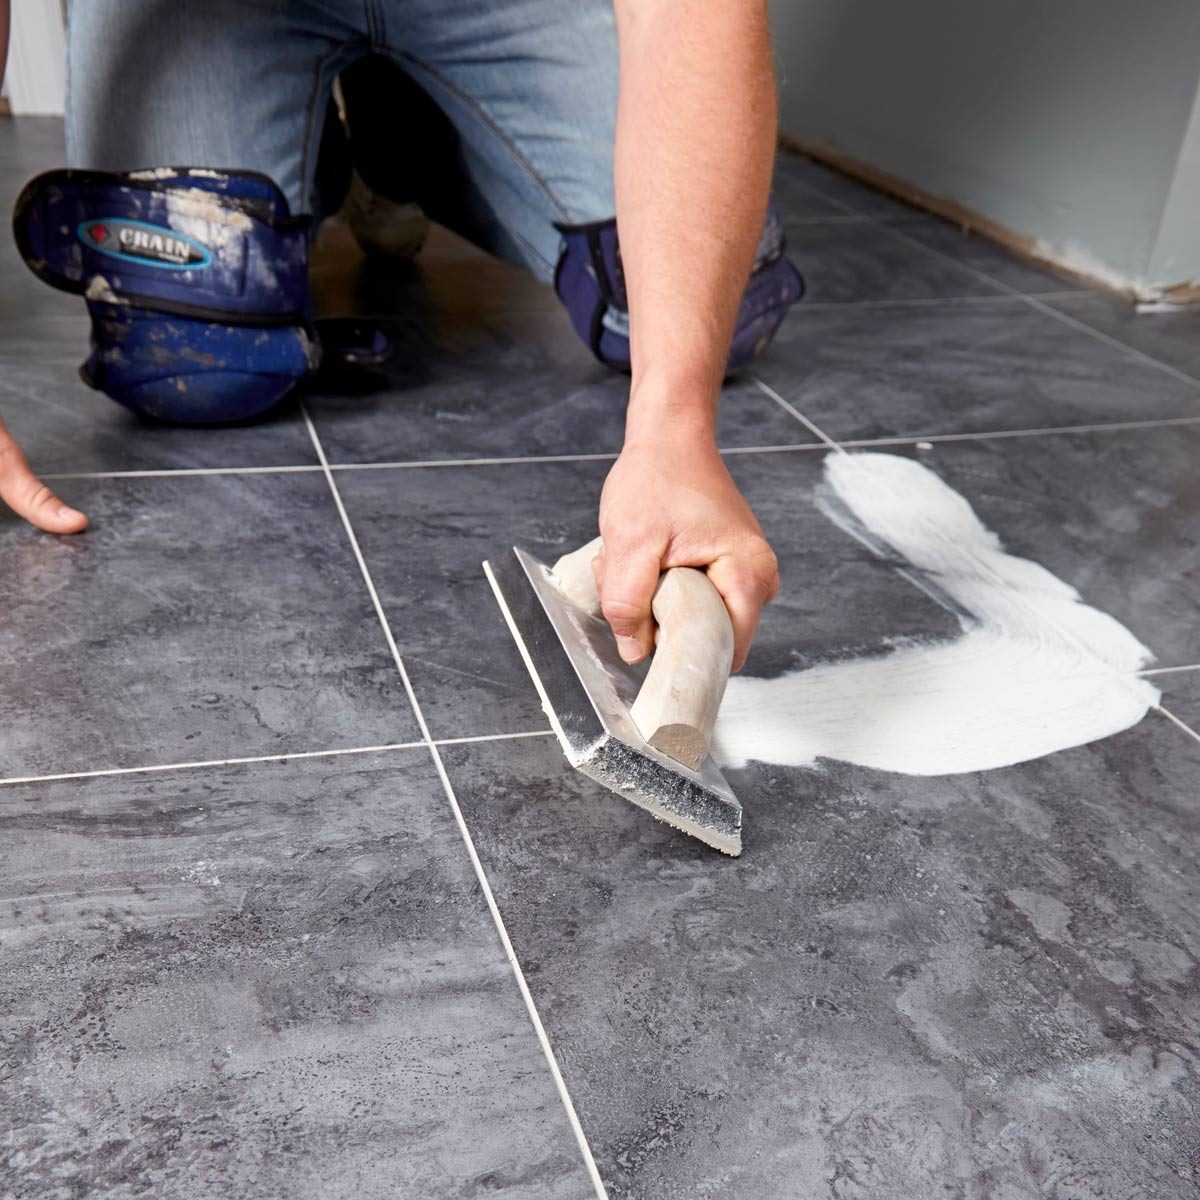
Using a notched trowel, spread a layer of thin-set mortar onto the subfloor, following the manufacturer’s guidelines for coverage and thickness.
3. Placing the Tiles
Carefully place the first tile into position, ensuring it aligns with the chalk line. Use spacers to maintain consistent grout lines.
4. Leveling and Grouting
Use a level to ensure that each tile is installed at the same height. Once the mortar has set, you can apply grout to fill the gaps between the tiles. Clean up any excess grout according to the manufacturer’s instructions.
Considering Alternatives to Tiling
While tiling over wooden floors can be an effective renovation option, it’s not always the best solution. Depending on your specific needs and priorities, alternative flooring solutions may be more suitable.
1. Flooring Over Existing Floor
Consider installing a new floating floor over your existing wooden floors. This solution is relatively fast and cost-effective, offering a wide range of styles and materials. Floating floors are designed to move independent of the subfloor, making them suitable for situations where the subfloor may not be perfectly level.
2. Refinishing Existing Wood Floors
If your wooden floors are structurally sound but simply require a cosmetic refresh, refinishing them may be the best approach. This involves sanding down the old finish and applying a new layer of stain and sealant, restoring the wood’s natural beauty and durability. Refining is often a more cost-effective solution than replacing or covering the existing floor.
Can You Put Tiles Over Wooden Floor
Conclusion
Tiling over wooden floors can be a successful renovation project, providing a modern and durable floor surface. However, it’s crucial to assess the condition of your existing floor, prepare the subfloor properly, and choose the right tile for the job. Consider alternative flooring solutions if your wooden floor is not suitable for tiling. By following the steps outlined in this guide, you can determine the feasibility of this project and ensure a successful outcome, transforming your space with a stylish and long-lasting tiled surface.


