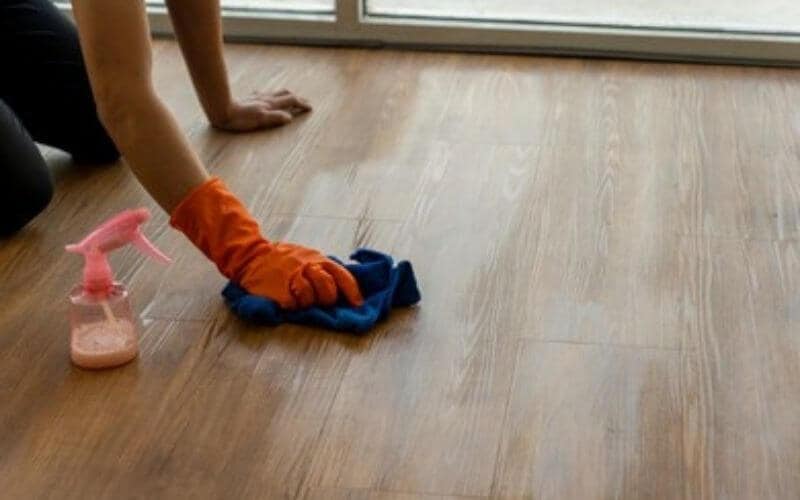
You’ve just moved into your new home, a dream realized, and the gleaming engineered hardwood floors add a touch of elegance to every room. But, as life happens, so do scratches. A clumsy furniture move, a dropped knife, or even a playful pet can leave their mark. Now, you’re left wondering, are my beautiful floors ruined?

Image: floorcarekits.com
The good news is, scratches on engineered hardwood floors aren’t necessarily a death sentence. While deeper scratches might require a more professional touch, many surface imperfections can be addressed with DIY methods. This article will delve into the various ways to fix scratches on engineered hardwood floors, offering practical tips and advice to restore your floors’ beauty.
Understanding Engineered Hardwood Floors
Before diving into the repair process, it’s helpful to understand the construction of engineered hardwood floors. Unlike solid hardwood, which is crafted from a single piece of wood, engineered hardwood features a top layer of real hardwood veneer bonded to a plywood core. This construction provides several benefits:
- Stability: The plywood core makes engineered hardwood less susceptible to moisture and temperature variations, reducing warping and cupping.
- Cost-effectiveness: By using a thinner hardwood veneer, engineered hardwood is generally more affordable than solid hardwood.
- Sustainability: Using a smaller amount of hardwood veneer allows for greater resource efficiency.
However, this layered structure also determines how we approach repairs. Since the hardwood veneer is relatively thin, deep scratches may reach the plywood core, making complete repair a challenge.
Assessing the Damage
The first step in determining the best repair method is to assess the severity of the scratches. Here’s a simple guide:
Surface Scratches:
- These scratches only affect the top layer of the veneer.
- They are shallow and don’t show any signs of the plywood core underneath.
- They can often be repaired with simple DIY methods.

Image: dragon-upd.com
Deep Scratches:
- These scratches penetrate through the hardwood veneer and reach the plywood core.
- They are often accompanied by a distinct grain change or color difference.
- They may require more extensive repair, possibly involving professional intervention.
DIY Solutions for Surface Scratches
For surface scratches, there are several DIY solutions you can try:
Cleaning and Sanding:
- Start by carefully cleaning the scratched area with a mild cleaner and a soft cloth. Remove any dirt or debris that might be lodged in the scratch.
- Once dry, use fine-grit sandpaper (around 220 grit) to gently sand the scratch. Work in the direction of the wood grain, applying light pressure to avoid sanding too deeply into the veneer.
- After sanding, wipe away any dust and apply a wood filler to match the floor color. Let it dry completely before gently sanding the filler to blend with the surrounding wood.
- Finally, apply a matching wood stain and sealant to complete the repair and protect the floor.
Wood Putty and Markers:
- For smaller, shallower scratches, you can use a wood putty or a touch-up marker that matches the floor color.
- Apply the putty or marker to the scratch, filling it completely.
- Let it dry thoroughly and then gently sand it smooth.
- If necessary, apply a thin layer of polyurethane sealant to protect the repaired area.
Addressing Deep Scratches:
Deep scratches that expose the plywood core are more challenging to repair. While you can try patching with wood filler and sanding, achieving a seamless finish might be difficult. In these cases, professional intervention is often recommended. Here are some options:
Professional Repairs:
- Sanding and Refinishing: A professional floor contractor can sand the entire floor down to a consistent level, removing the scratches and restoring the floor’s finish. This is a more extensive process but can effectively erase even deep scratches.
- Patching and Staining: In some cases, a contractor might recommend patching the damaged area with a piece of matching hardwood veneer and then sanding and staining it to match the existing floor. This is a more targeted approach but requires expertise to ensure a seamless finish.
Preventive Measures for Engineered Hardwood Floors
While scratches are inevitable, there are steps you can take to minimize their occurrence and extend the life of your engineered hardwood floors:
- Use Floor Protection: Consider placing rugs or mats in high-traffic areas, such as entryways and doorways. This helps prevent dirt and grit from damaging the floor’s surface.
- Furniture Protection: Use felt pads or furniture sliders under heavy furniture to prevent scratches when moving them.
- Regular Maintenance: Sweep or vacuum your floors regularly to remove dirt and debris. Mopping can also be beneficial, but always use a wood-safe cleaner and avoid excessive moisture.
- Protect from Moisture: Engineered hardwood is susceptible to moisture damage, so it’s important to keep the floor dry. Quickly clean up spills and avoid prolonged exposure to standing water.
Can You Fix Scratches On Engineered Hardwood Floors
Conclusion
While scratches on engineered hardwood floors can be a source of frustration, they don’t necessarily mean your floors are ruined. With the right knowledge and techniques, you can often repair surface scratches effectively. For deeper scratches, seeking professional advice is recommended. Remember, prevention is key. By taking steps to protect your floors from damage, you can help them maintain their beauty and longevity.


